Sunday, 9 September 2012

PROUD ITALIAN COOK

Kale and Almond Pesto with a Little Bit of Heat


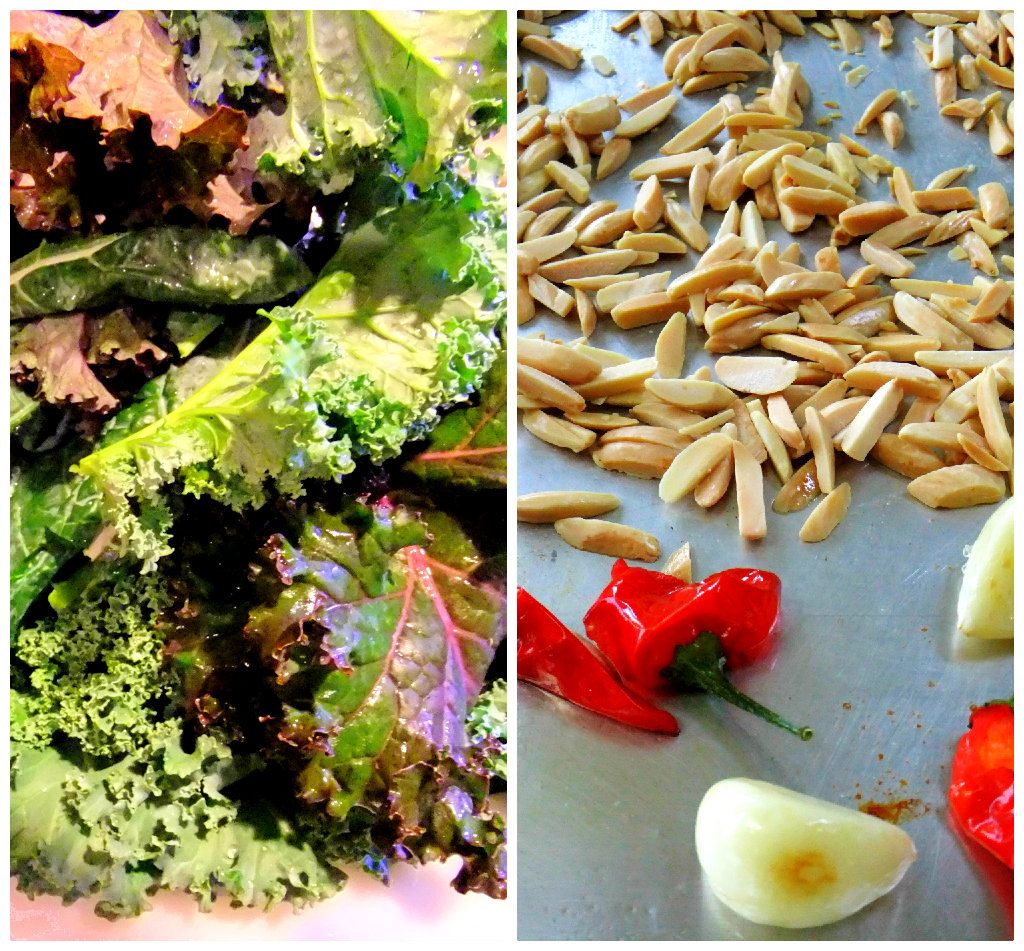
We have three different varieties of kale growing in our garden, Cavolo Nero or tuscan kale, the curly and green-gray type and one that is a redish purple color with ruffled leaves, I love them all!
 Quite honestly I never thought of turning kale into a pesto, I'm such a basil person, until I saw the new Donna Hay magazine and then I got instantly inspired!
What a great way to use up all my kale!
What I loved was her addition of red chillies and toasted almonds, the chillies give a slight touch of heat and the toasted almonds add so much flavor to the pesto.
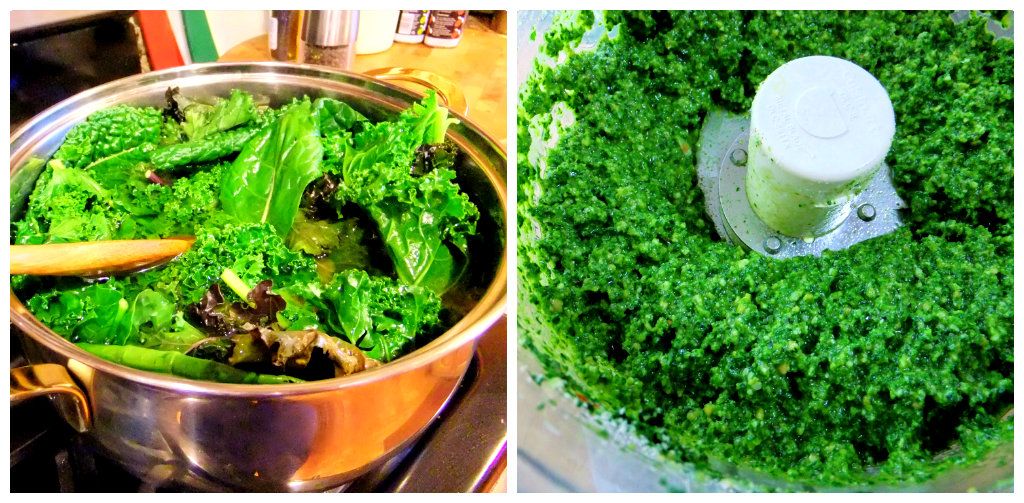
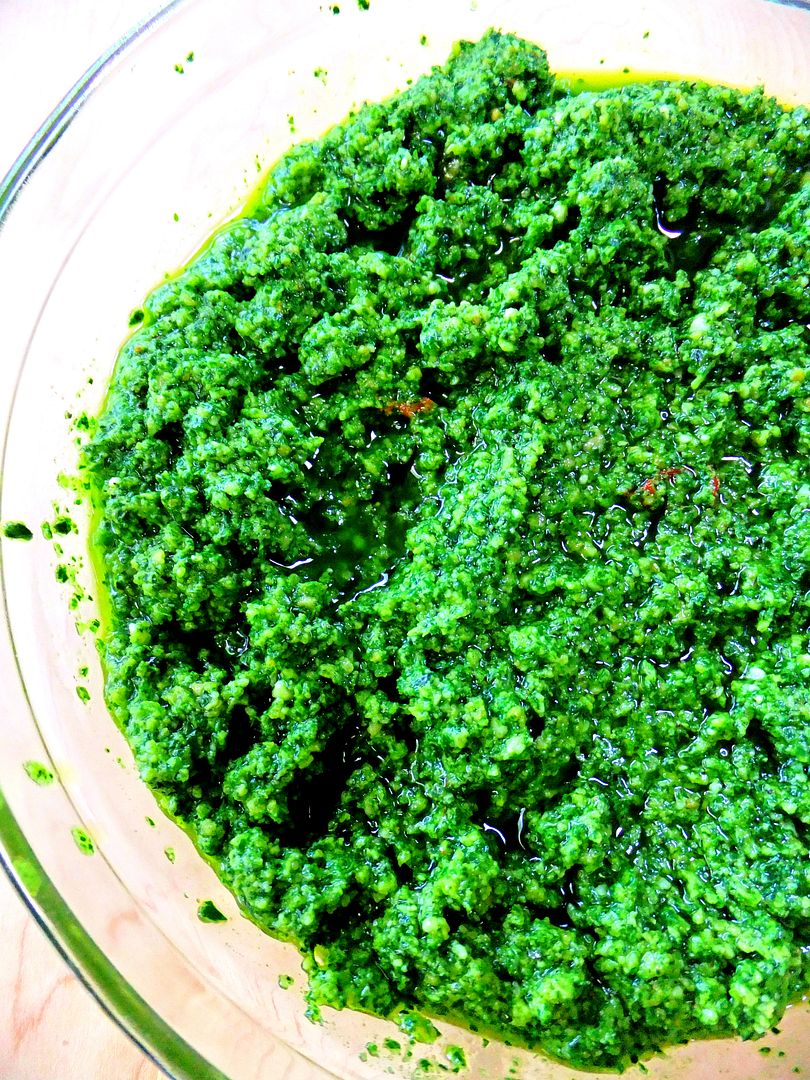
Blanching the kale for a few minutes and then placing it right into a bowl of ice water, helps to retain it's vivid green color. I made mine about a week ago and it's still bright green. 
If you're a kale lover and you know just how good kale is for you, then you have to make this! Dare I say I'm liking this better than basil pesto right now, that's how good it is.
The first time I made it I quadrupled the recipe.
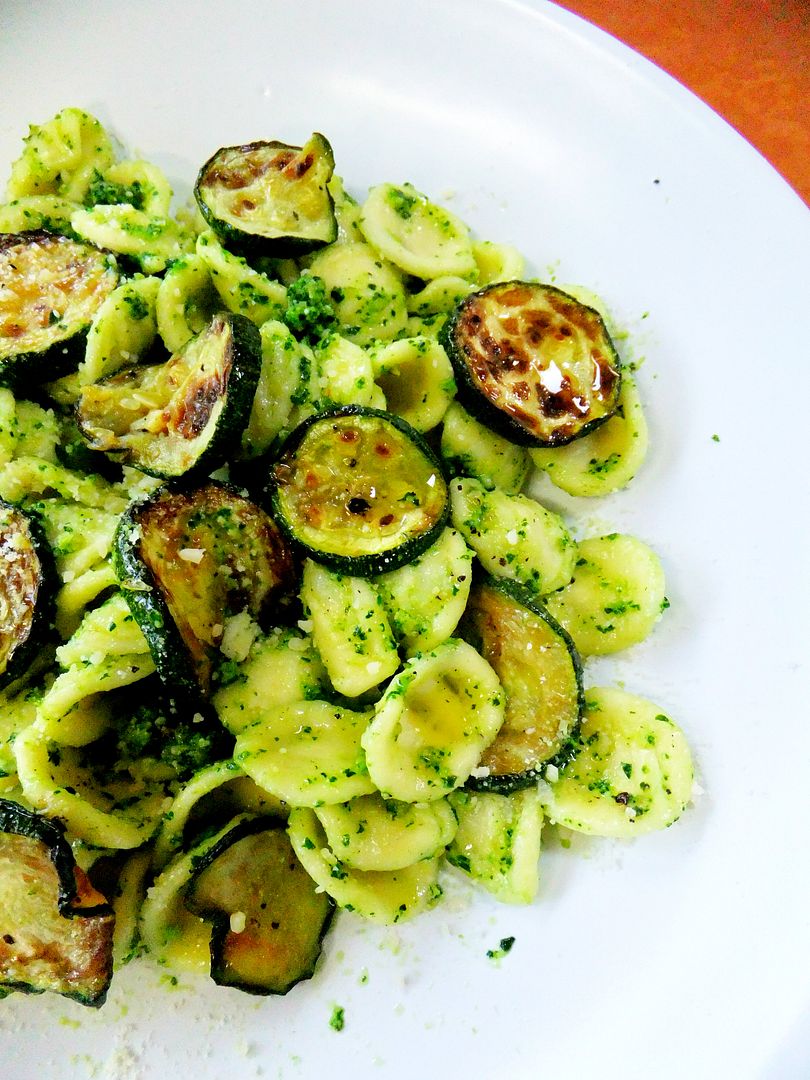
I've been tossing and slathering it all over everything. Here I tossed it with roasted zucchini coins and orecchiette pasta.
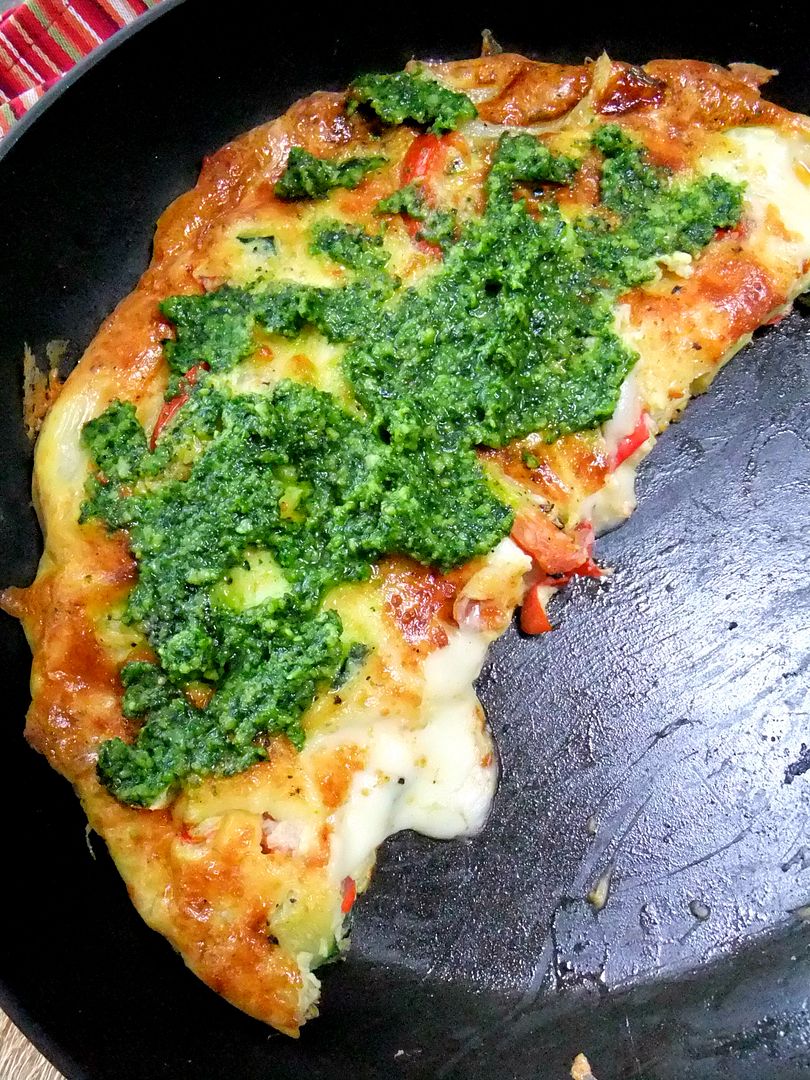
Slathered over our weekend frittata, man was that good!
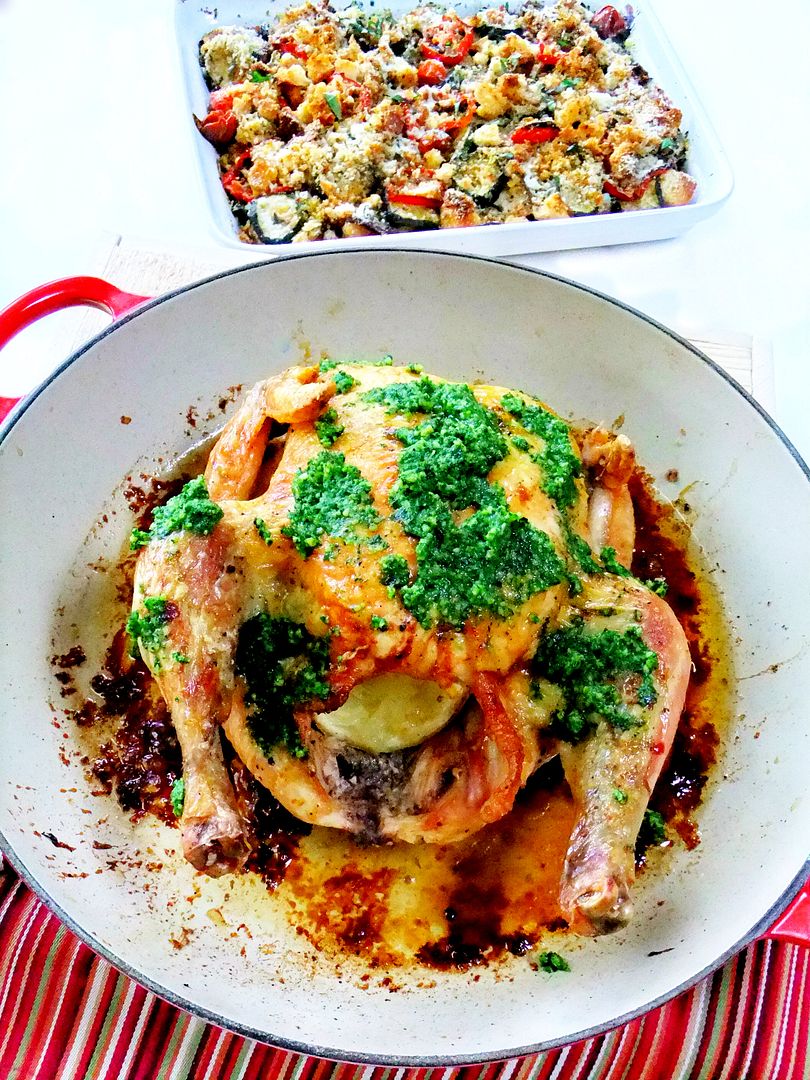
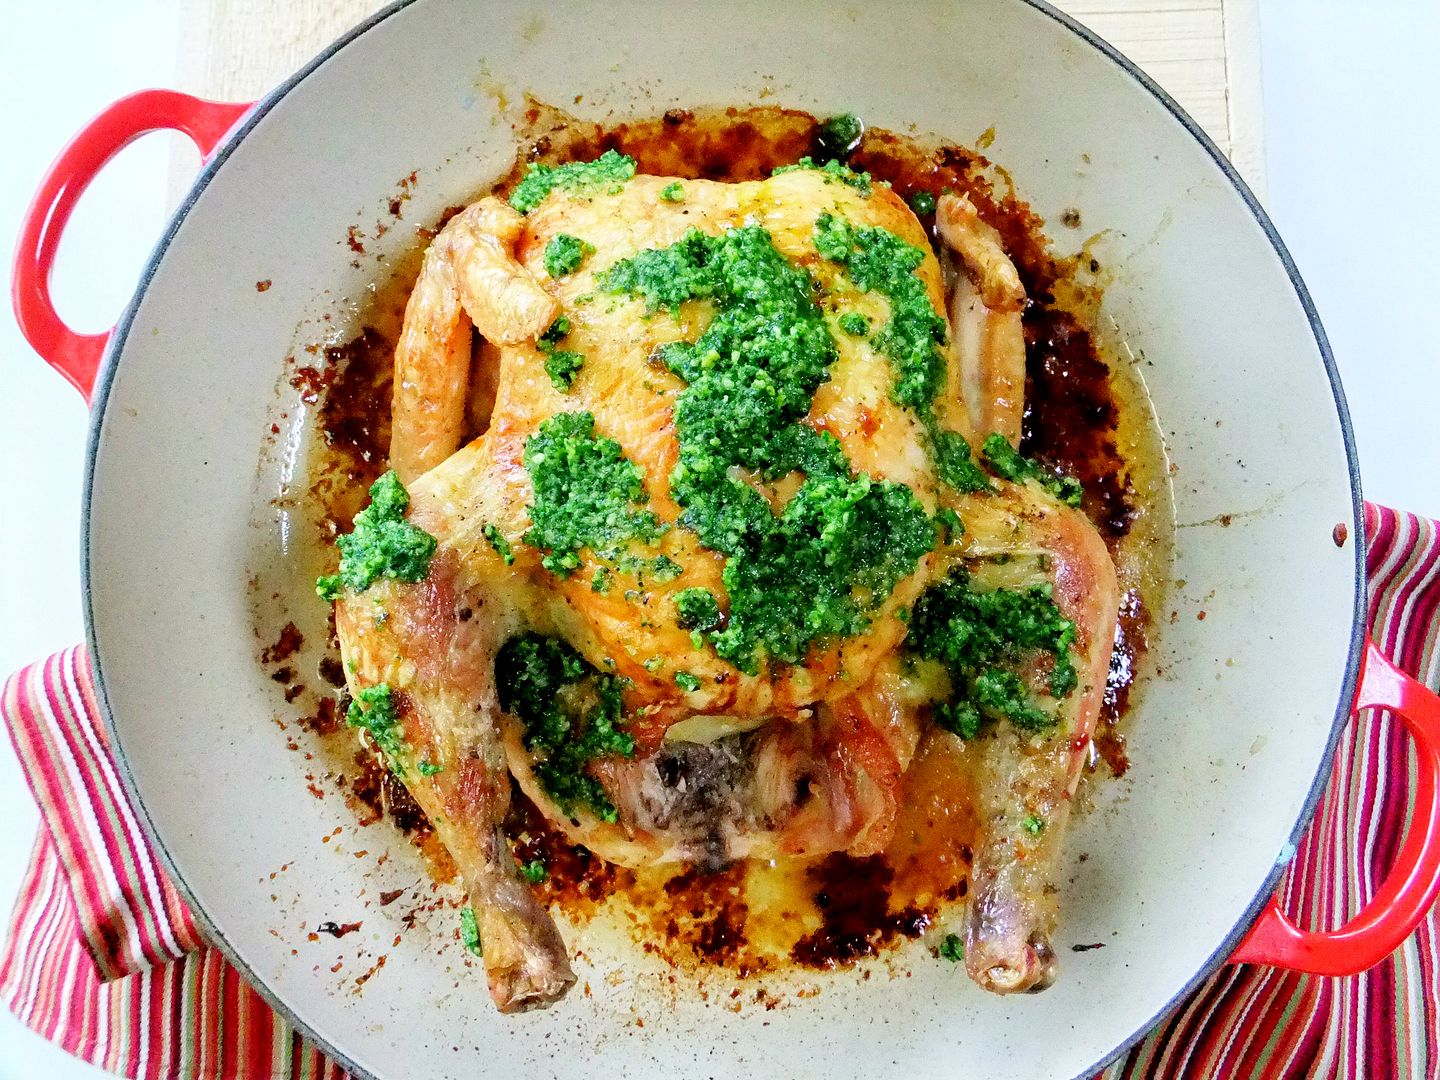
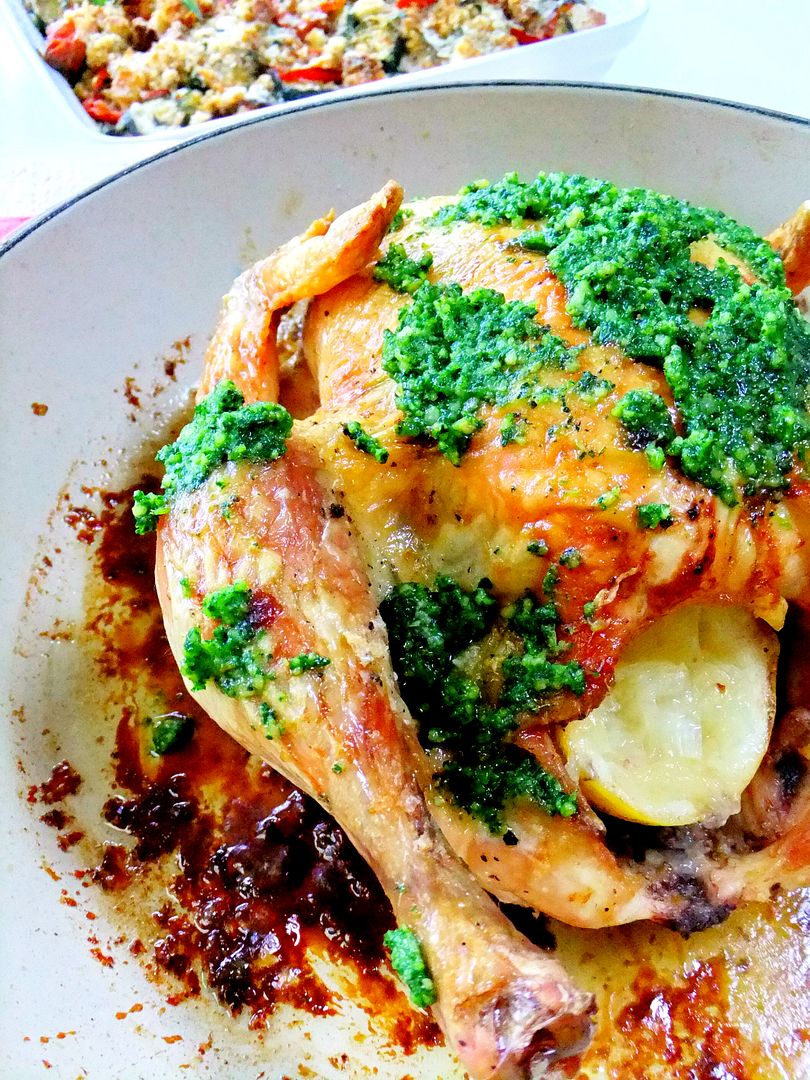
And my absolute favorite, ( thanks to Donna Hay) slathered over a warm, right from the oven, roasted chicken.
AMAZING!
I will be making many more batches of this before all my kale is gone... My family is thanking me!

Here is my adapted version, slightly different from Donna Hay's because she used Manchego cheese and I used romano, she also added 1 cup of parsley in addition to the kale, I just used straight up kale.

2 cups of kale leaves stems removed, blanched and squeezed of moisture
1/3 cup of toasted almonds
2 red chillies
3 cloves of garlic
1/3 cup of grated romano
1/2 cup of olive oil
salt and pepper
Heat oven to 375F. On a small baking sheet place almonds, chillies, and garlic drizzle with olive oil and roast for 8-10 minutes or until almonds are golden brown. Deseed chillies.
Place the almonds, chillies and garlic in a food processor then add the kale and cheese, process until roughly chopped then drizzle in your olive oil.
Taste it for salt or more cheese or even more oil, the pesto should have a nice movement to it when stired.

Enjoy!


Champagne Grapes

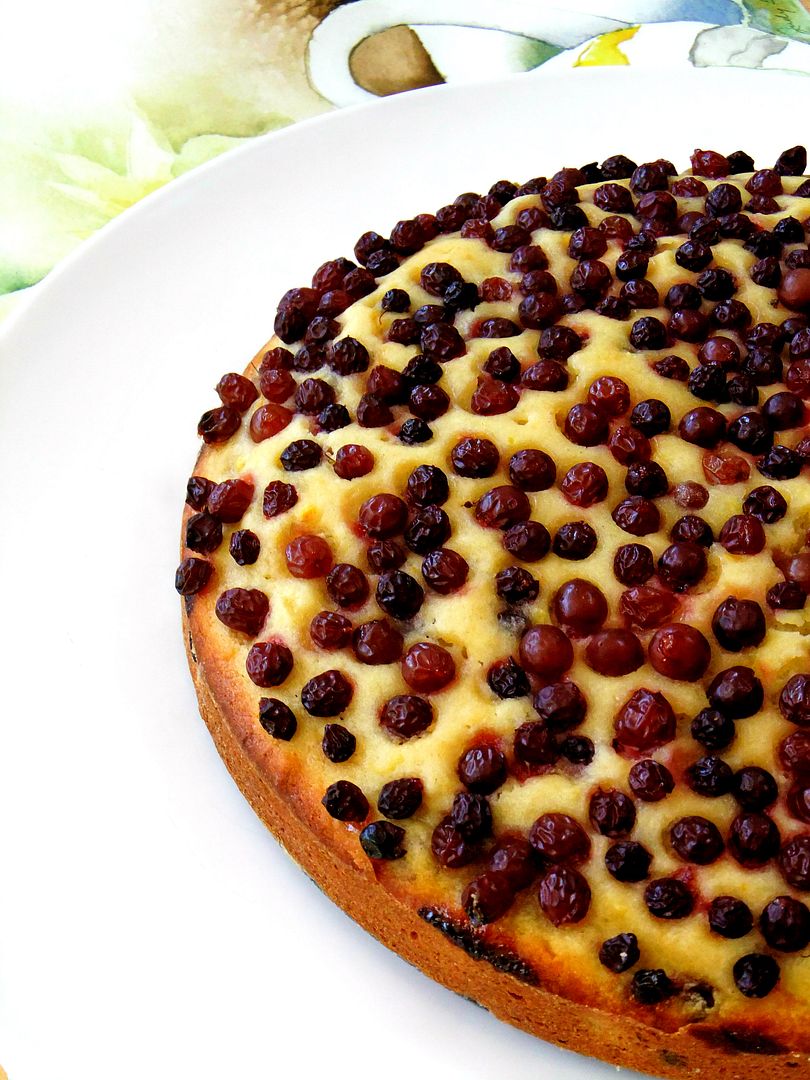
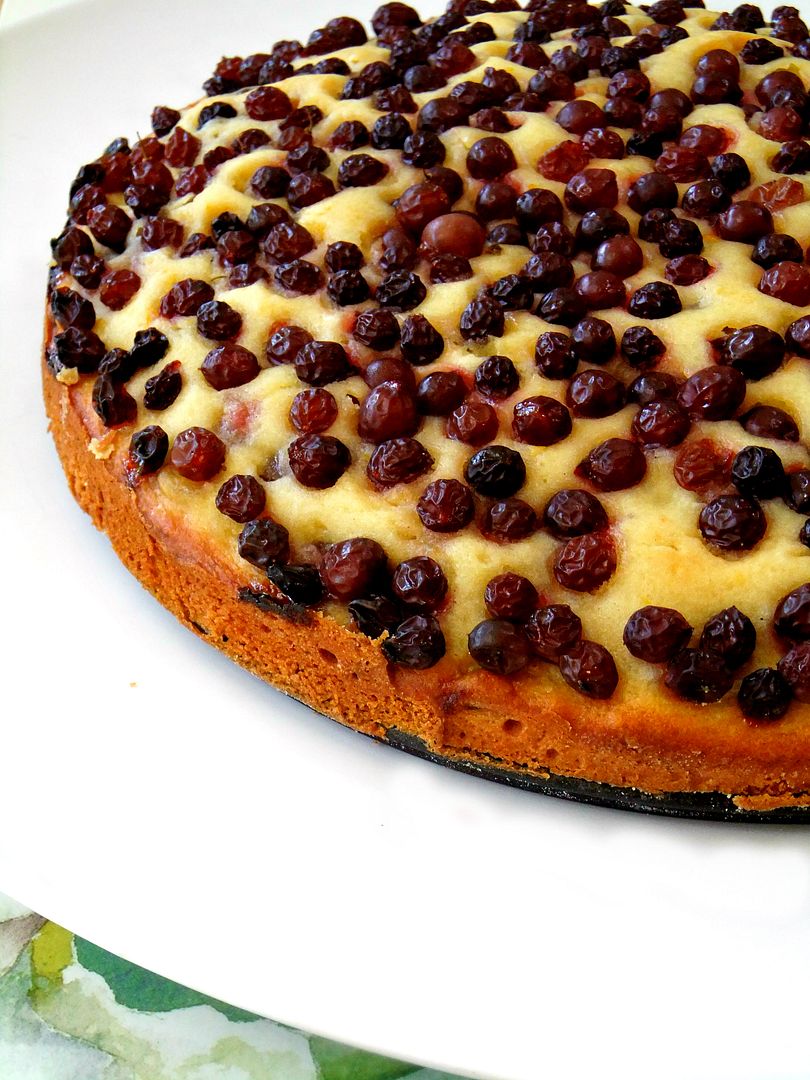
Champagne Grape Cake, is a moist, not so sweet cake, made with a combination of olive oil and butter with hints of citrus and vanilla, the cake is crowned with tiny, miniature, champagne grapes that burst with intense flavor when you bite into them.
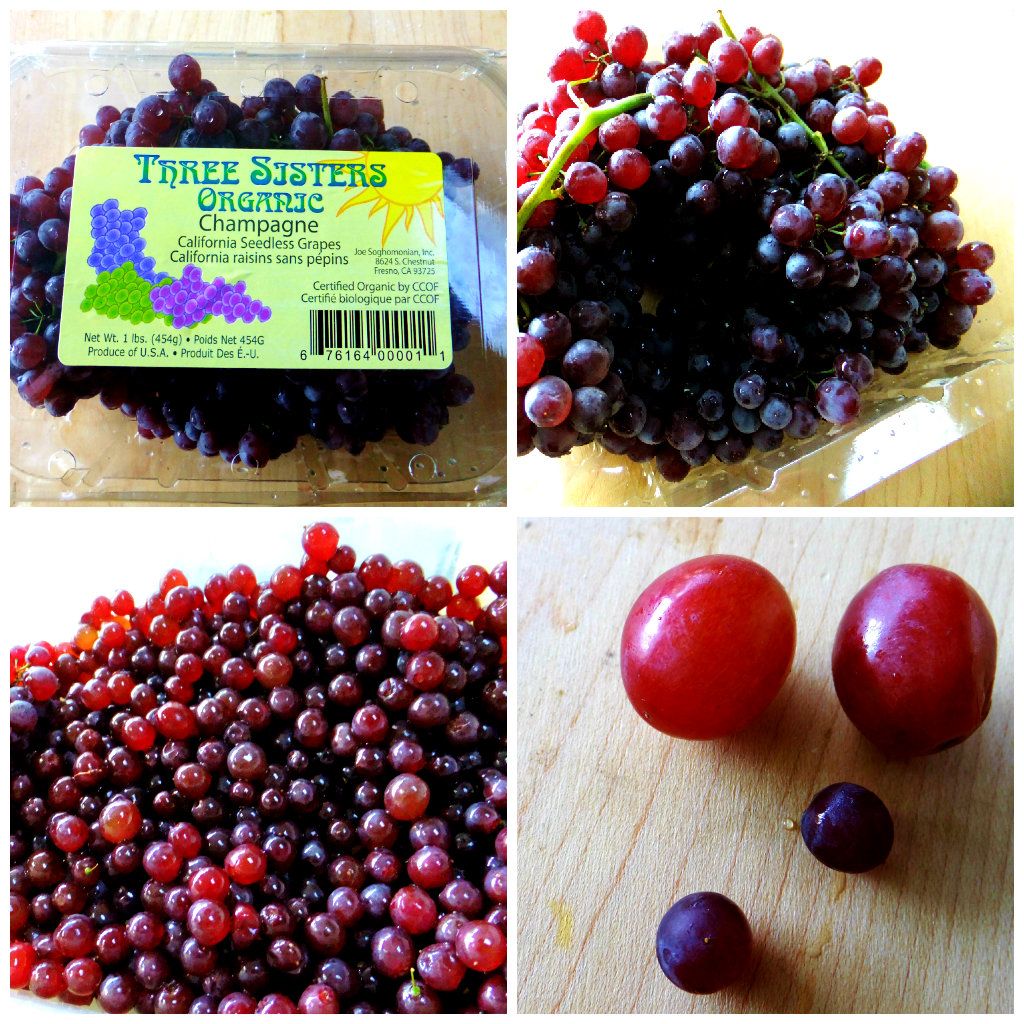
These intensely sweet pearl sized grapes are in season for a limited time right now and I was lucky enough to find a package at my local Whole Foods. They're seedless with a deep blue black color and quite a bit smaller than a regular sized grape, as you can see above.
Champagne grapes are not to be confused with the variety of grape that they actually use to make champagne with, these are more "currant like".
 See how tiny they are?
Get a pot of espresso going because this cake is the perfect ending to a meal and I just loved the combination of olive oil and butter, really delicious!
Here's the recipe, it's adapted from Patricia Wells at Home in Provence.
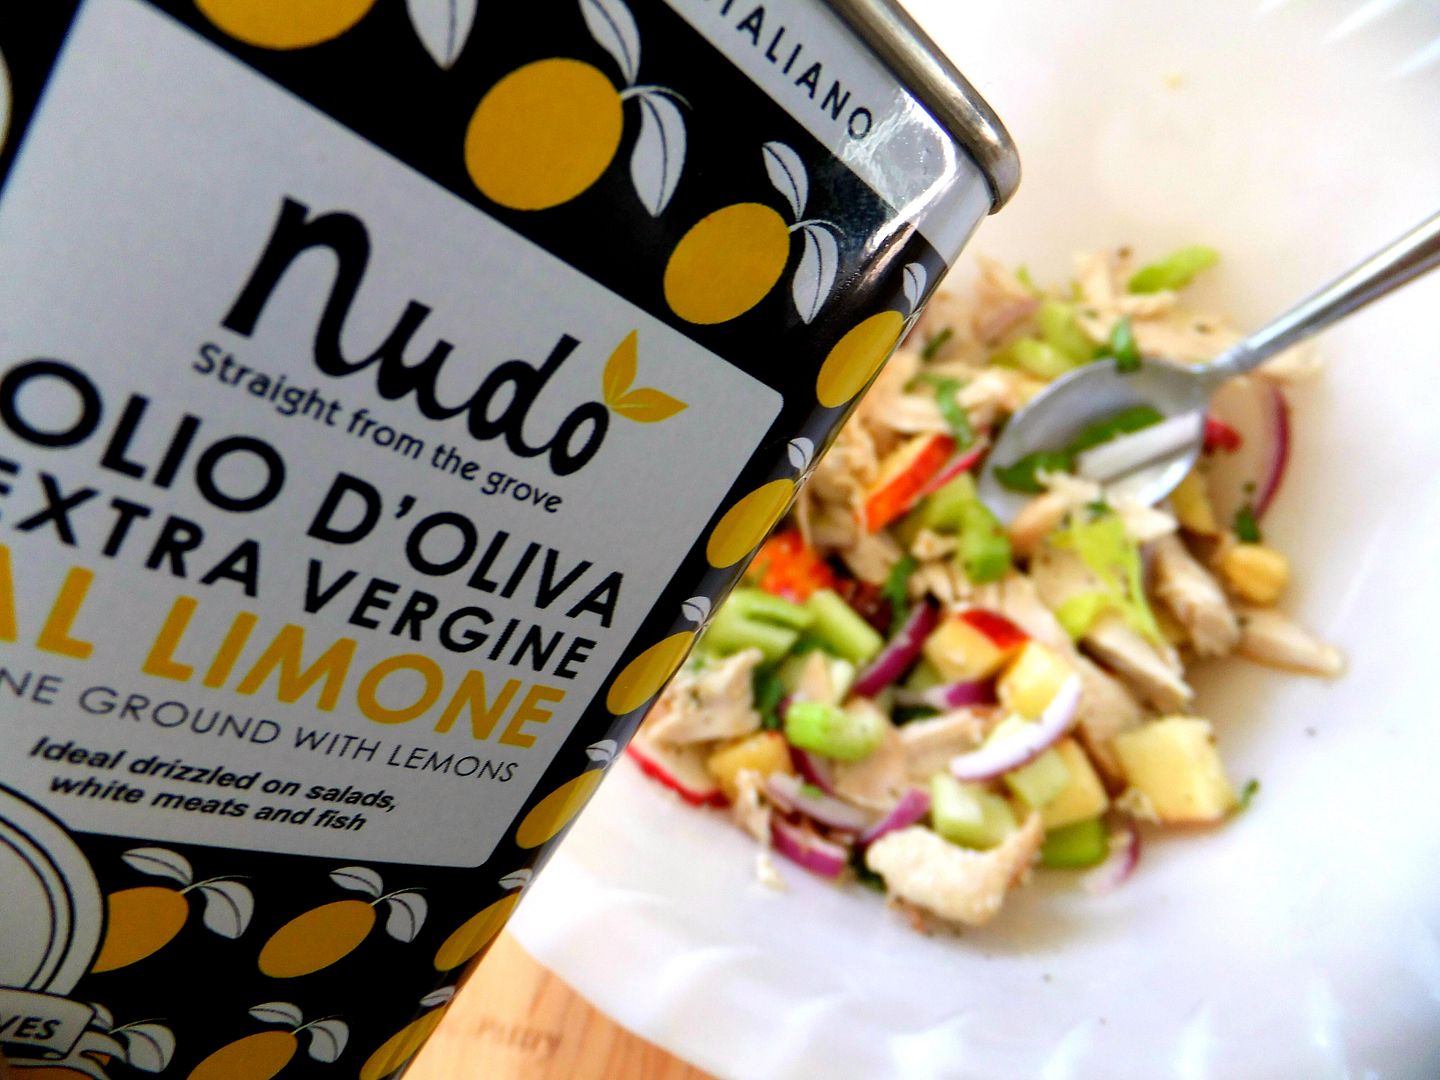
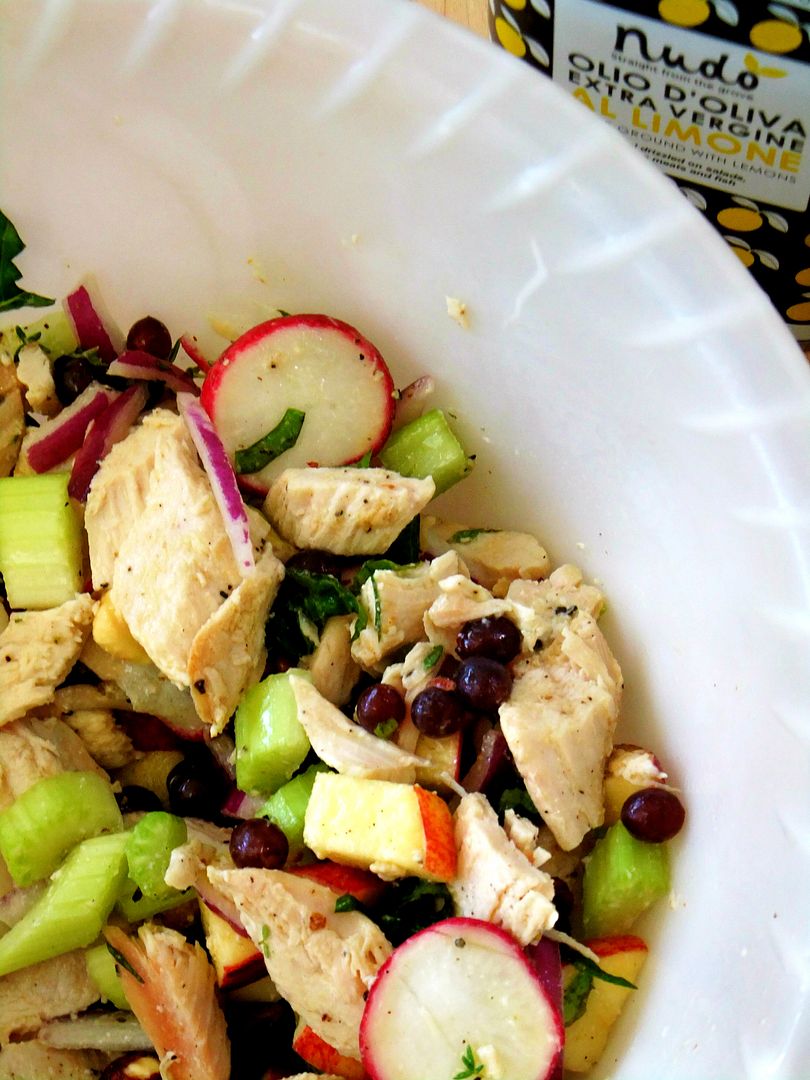
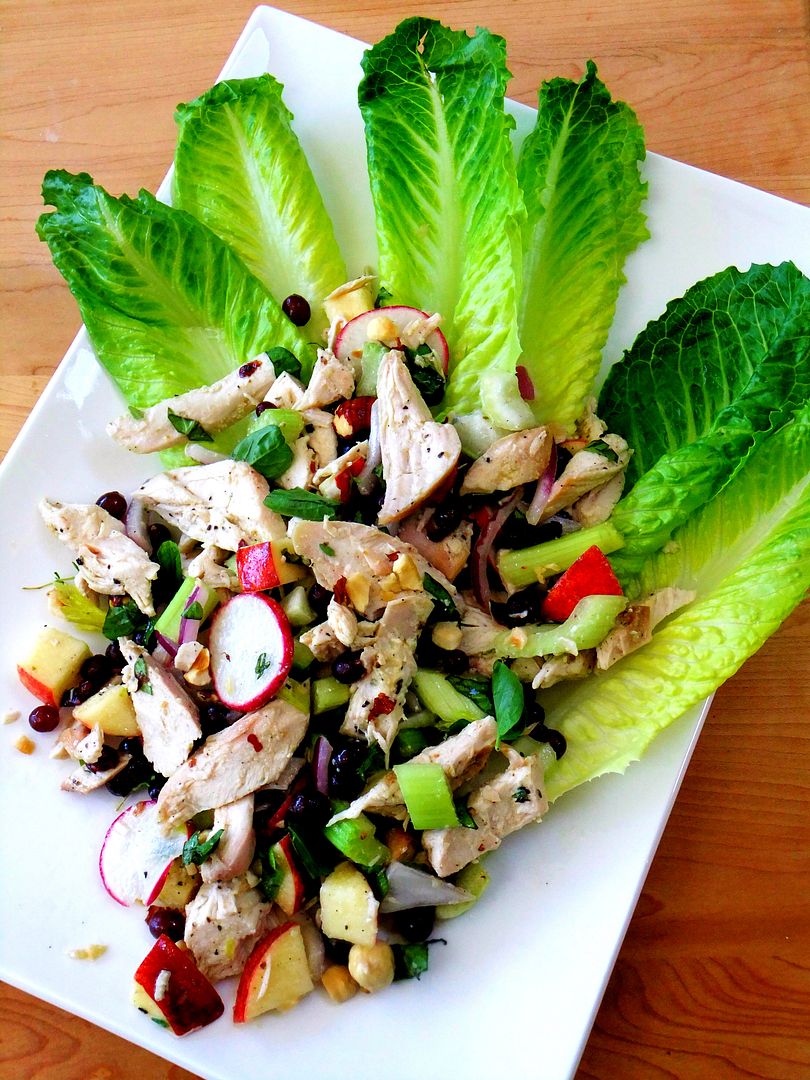
I had some grapes leftover so I decided to make a chicken salad with the remaining ones tossing it all together with this wonderful lemon flavored olive oil I received from Nudo.     
Ingredients were, leftover roasted chicken, celery, red onion, radish, apple, crushed hazelnuts, basil and of course, those luscious and juicy champagne grapes!
Grab a package if you can before they quickly disappear!


Tomato Harvest and the Winner of my Giveaway


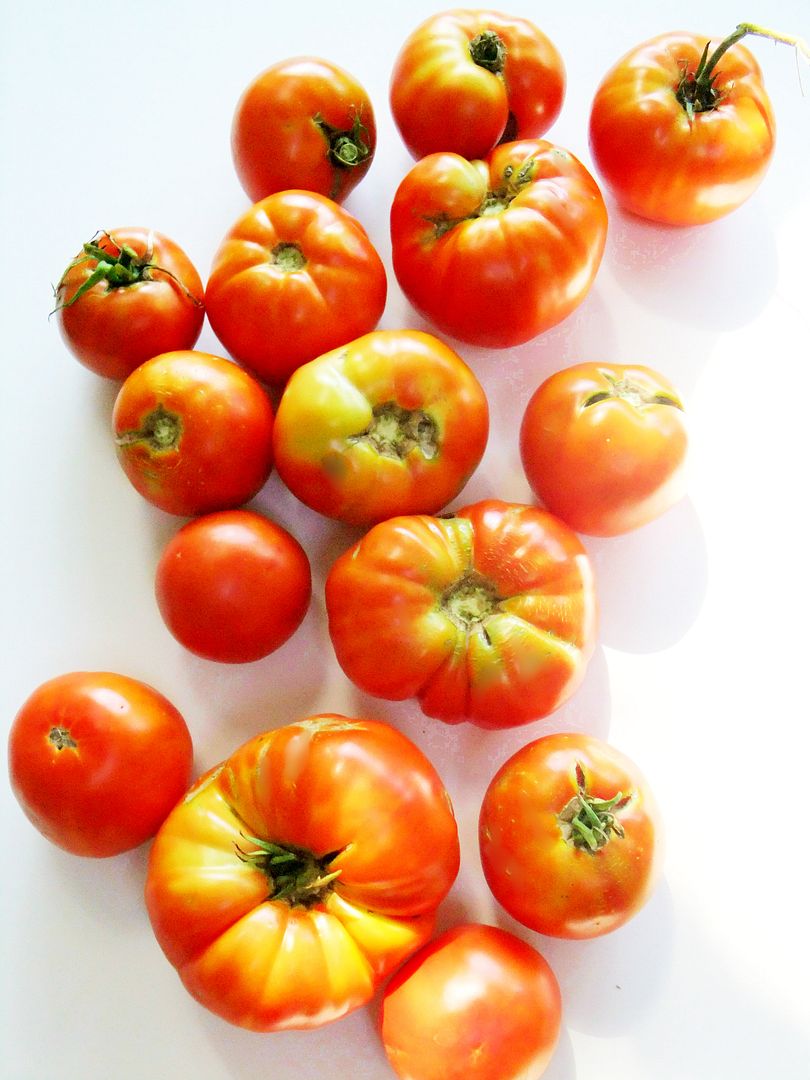
I'm sure many of you are thinking up different ways to use up your garden tomatoes like I am, I'm not a caner so I try to use them as they start piling up. So far I've made numerous caprese salads, ( a stash of fresh mozzarella is a staple in my fridge lately).
Tossed them into pastas, made gratins with them, used them with grilled meats and fish, stuffed them, made quick sauces, dried them.
I've roasted cherry tomatoes by the pan full and graced many things with them, pizza, panini, tarts, omelette's, I could go on and on and so could you I bet!

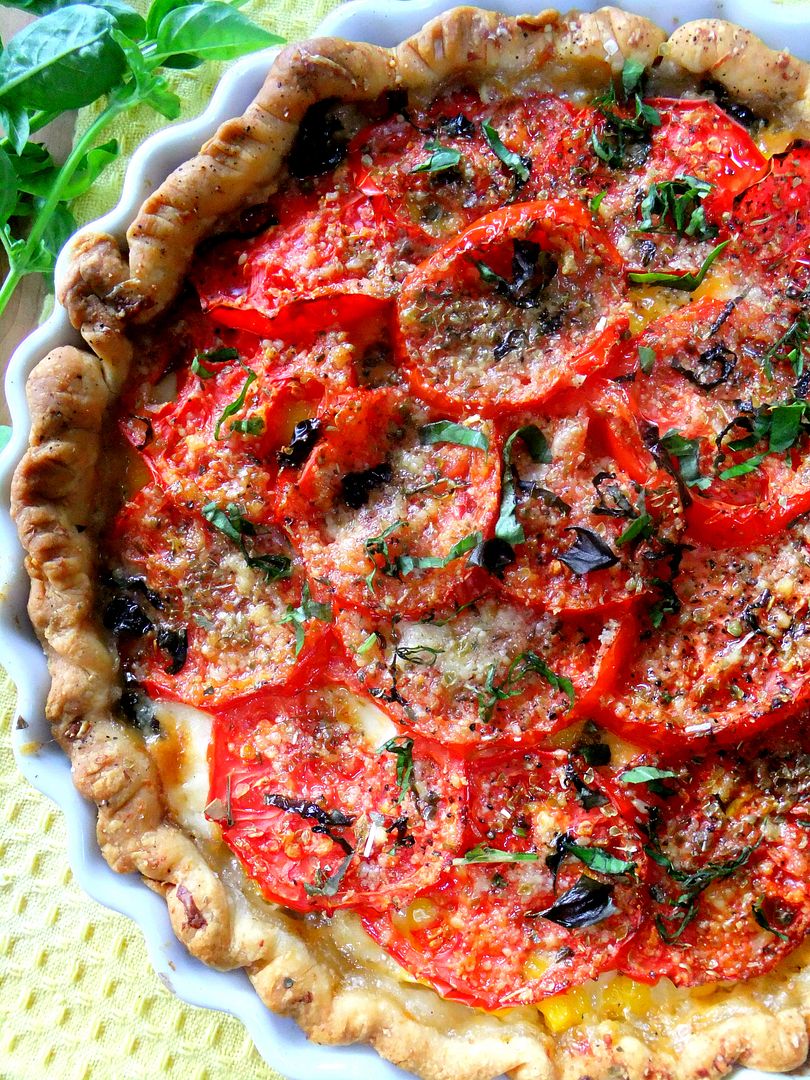
Recently I made this Tomato and Corn Pie and of course It has a little Italian twist on it. My only regret is, I should have made more than one, it was that good and disappeared in a heartbeat!
I just used a good store bought refrigerated pie dough, placed it into my pie pan, brushed it with olive oil and sprinkled with black pepper, then I pricked the dough all around with a fork.
I layered the bottom with a mixture of shredded asiago, mozzarella and grated romano cheese.
On top of the cheese I scattered caramelized onions and fresh basil. Place fresh corn from the cob over that and add a quick drizzle of olive oil and more romano.
 Arrange sliced tomatoes on top adding salt, pepper, dried oregano, fresh basil and another quick drizzle of olive oil. Bake in a 375 oven until crust is a nice deep brown. Let it cool down before you cut into it.
Serve this with a green salad and you have a fabulous meal!
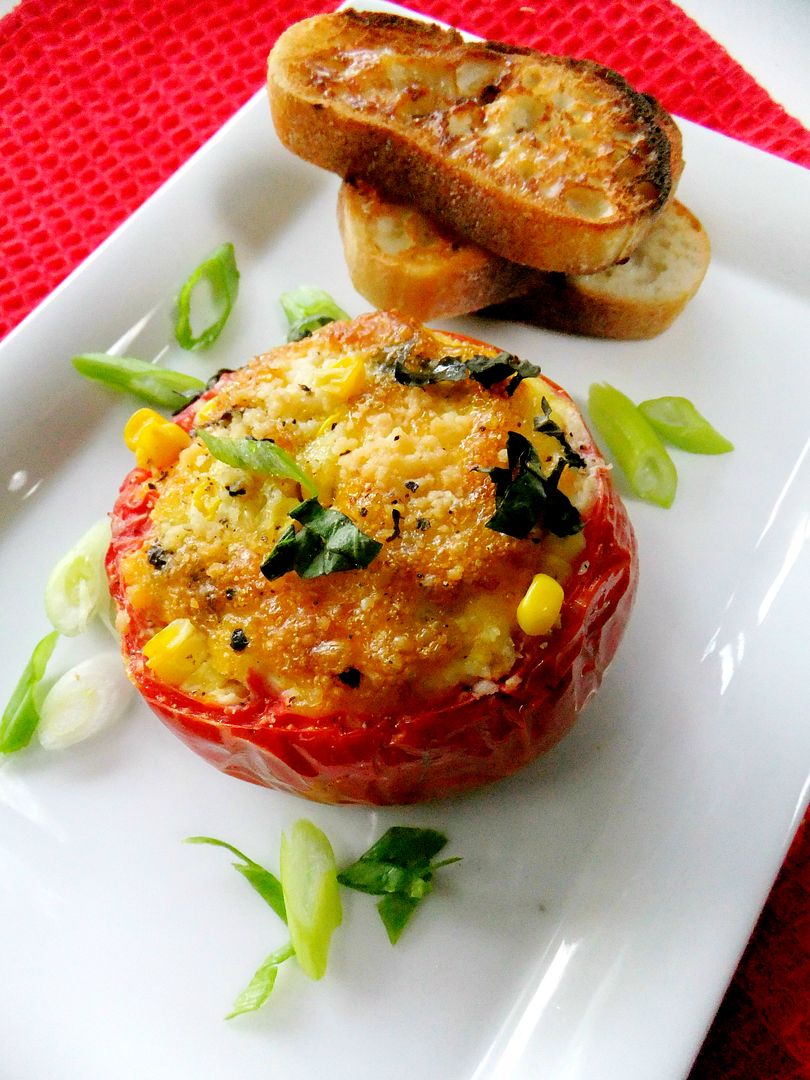
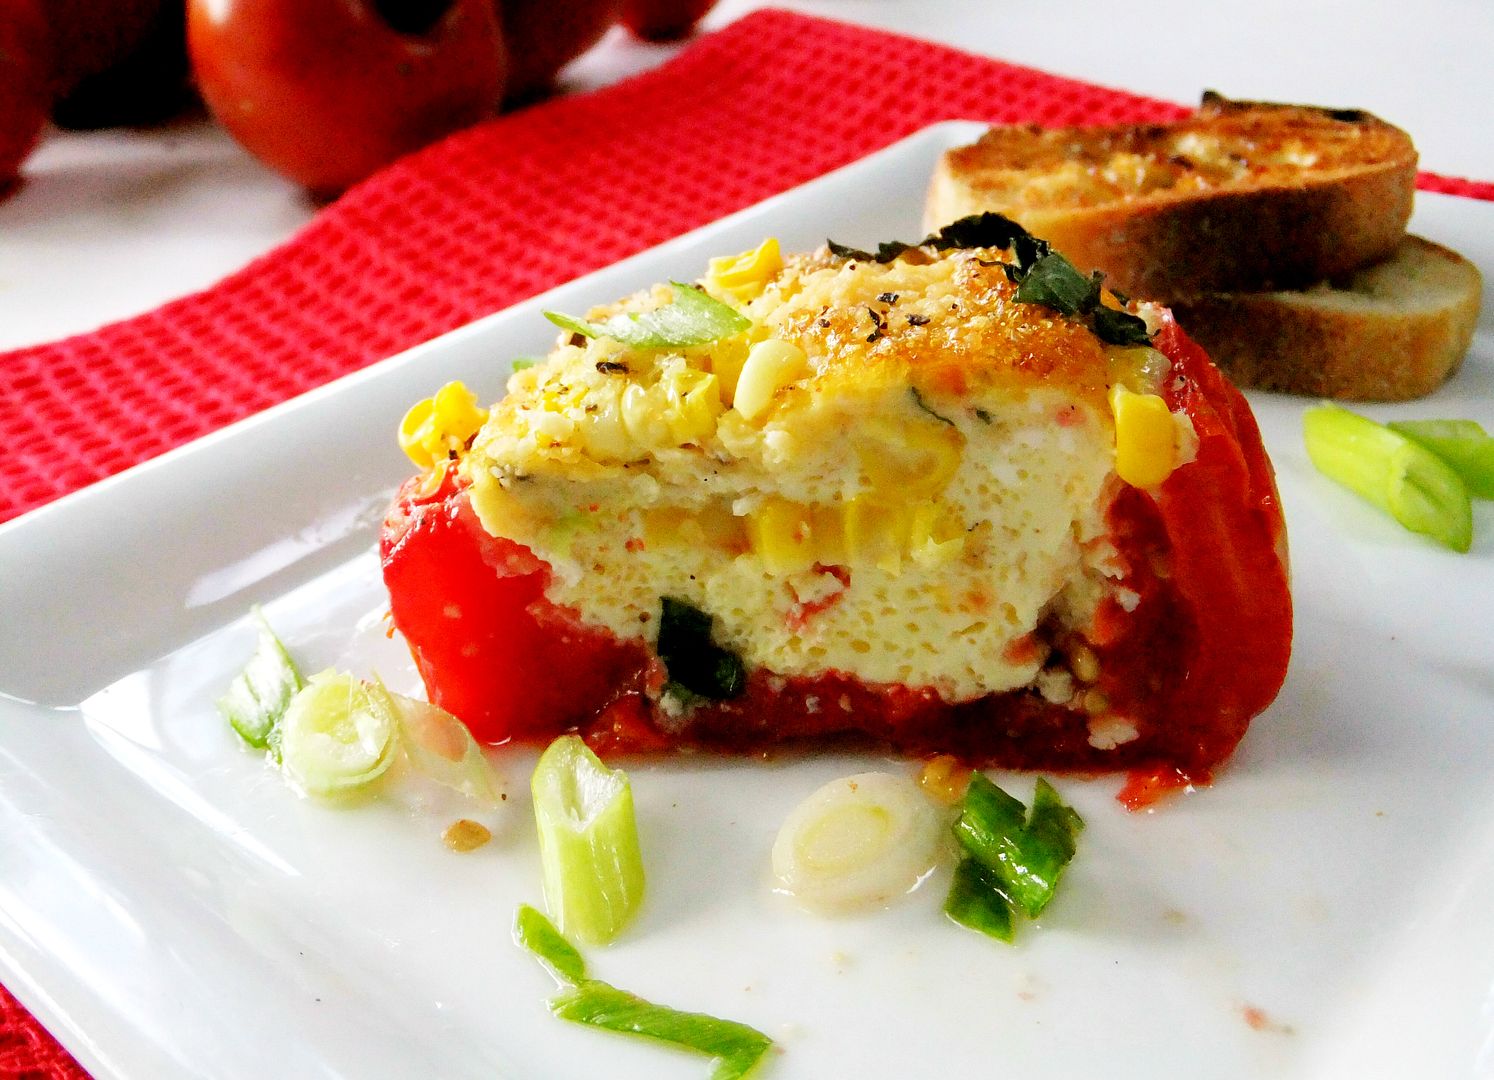
I made this for breakfast last Sunday, Baked Eggs in Tomatoes.
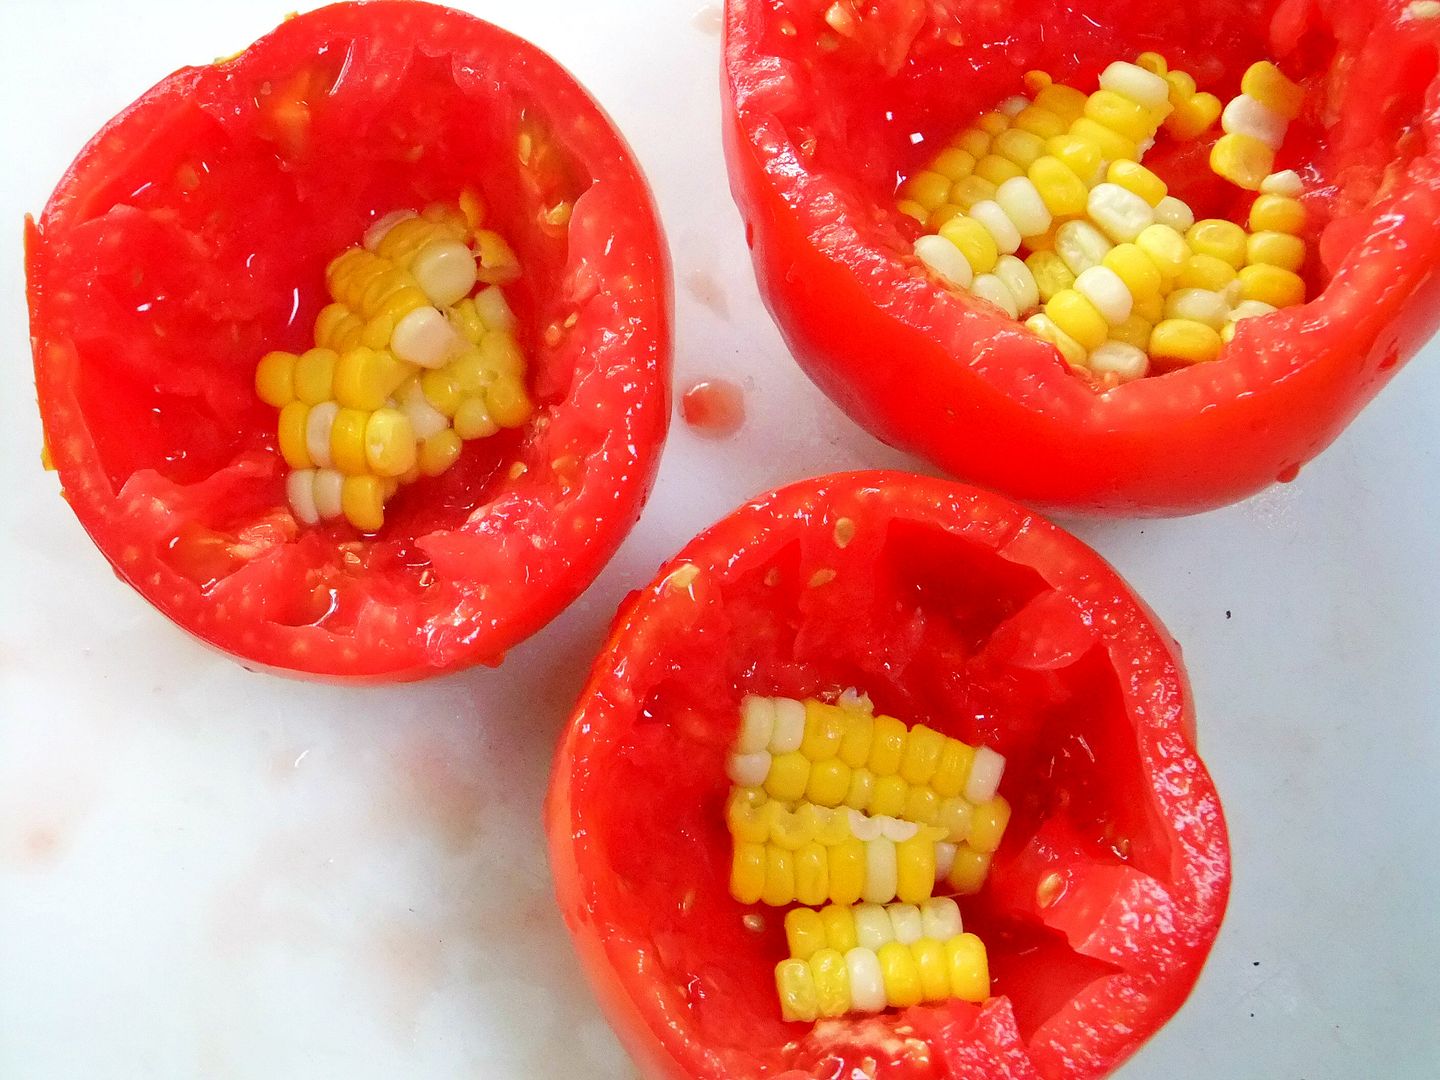
Basically you cut a 1/2 inch off the top of a tomato, gently scoop out the seeds and inner membrane, being careful not to break through the flesh of the tomato. Season, drizzle with olive oil and layer the bottom with fresh corn. Place in a baking dish lined with parchment.
Whisk up one egg per tomato, I added basil, romano cheese and a bit of asiago and divide and pour mixture among the tomatoes. Top with romano and bake at 350 for 45 to 50 minutes. Serve warm.
Recipe adapted from Martha
Pop some toast in the toaster, have the coffee brewing and the Sunday paper near by and enjoy a leisurely breakfast!
Cheesey, eggy, tomatoey goodness, oh my!

And now for the winner of my blogiversary giveaway!
 Before I announce the winner I just want to say thank you for all the wonderful comments I received, I enjoyed reading each and every one of them, I was touched in so many ways.

AND THE WINNER IS........

BECKY ROCHELLE
Marie,
you have reconnected me with my love for Italian food. I too am Italian, LOOOVE food, moonstruck, the godfather and all things Amore! I live in California and have skipped over Italian at times, due to the heaviness of the foods and carbs but you have shown me the light! I am newly engaged, love to cook and have impressed my Fiance with all of your recipes- Cedar Plank Portobellos, Zucchini boats, tarts, etc... It all has been amazing! We both thank you! I have made some of your dishes for my girlfriends as well. Not only do I have the confidence that the meal will be delicious, but it also has been so fun to make and create each dish with all of the incredible tastes and color-combinations! Thank you again!
Becky Rochelle
I found you on my cousin's Pinterest account!

Becky I will be contacting you via email, CONGRATS!


Has It really been five years?


It's hard to believe that this is my fifth year of blogging! It seems like only yesterday that I walked out into my garden with my Kodak point and shoot camera and took a picture of my basil plants and came in and wrote my first blog post.
Sometimes I cringe at my old food photos that I took with my flash on, (an absolute no no in food photography) but I will always keep them there because it was all a part of my blogging journey.
And what a journey it has been! They say time flies when you're having fun, and I can honestly say that that statement is so true. I'm still having fun, I never get bored blogging and I'm not ready to give it up, in fact, I'm gearing up for new and exciting things to happen with Proud Italian Cook in the future.

I could not celebrate this blogiversary with out expressing how extremely grateful I am to all my readers  who faithfully stuck with me, your comments always a source of encouragement. A big thank you to those who take the time to write me personal emails, my subscribers who send me kind words so often. To those who "like "me on Facebook, thank you. To all those who have "pinned" my recipes and photos on Pinterest, a gigantic thank you, I can't believe how my traffic has increased because of it!
 To my family and friends who put up with all my craziness, waiting patiently as I take photos at home and in restaurants, and thinks it's weird if I don't, and to my husband Tony, my number one fan who encourages me everyday and eats anything I put in front of him!

And lastly, to all my dear friends in this blogging community that we are all a part of, you know who you are, you're friendship has been the best part of my food blogging journey, thanks to all of you!
As a small token of my appreciation, and because fall is right around the corner, and when the cooler weather arrives I like to make pasta,  I'm giving away this Imperia pasta machine with the ravioli form to one lucky winner.
 The gift will be shipped via Amazon, and will be paid out of my pocket.
All you have to do is leave a comment to be in the giveaway. Anonymous commentors with no valid email will not be included because I obviously have to notify the winner by email.
Contest will end Monday August 20th at midnight Central Standard time and winner will be announced the next day.

Good Luck and let the pasta making begin!


Summer Bounty Zucchini Tart

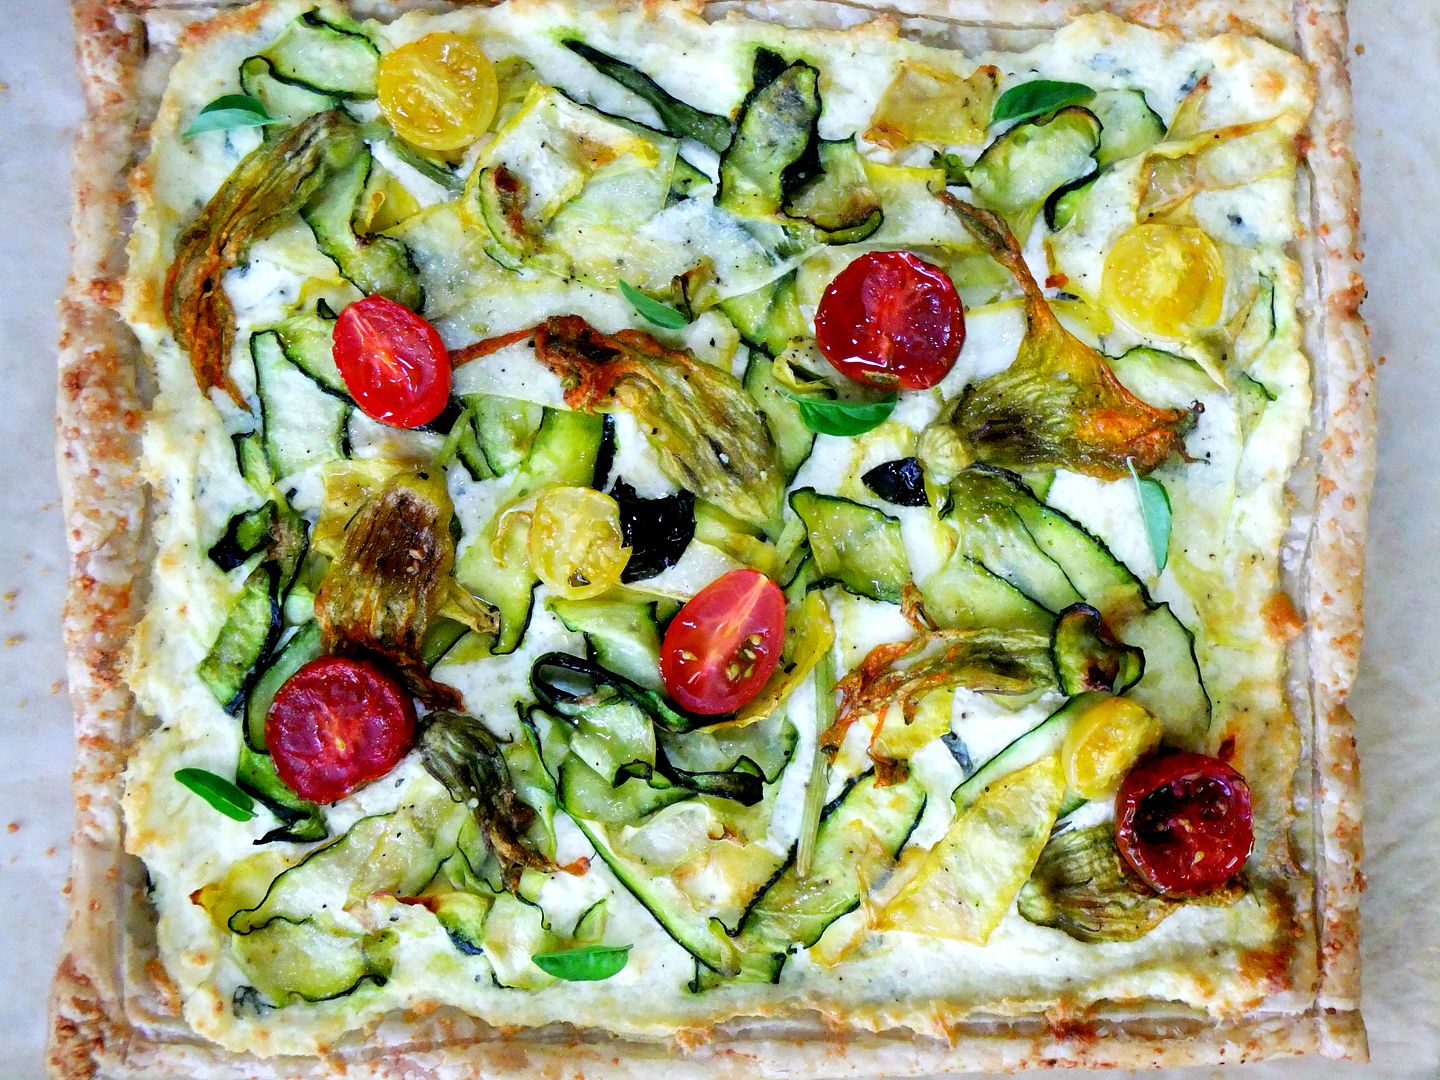
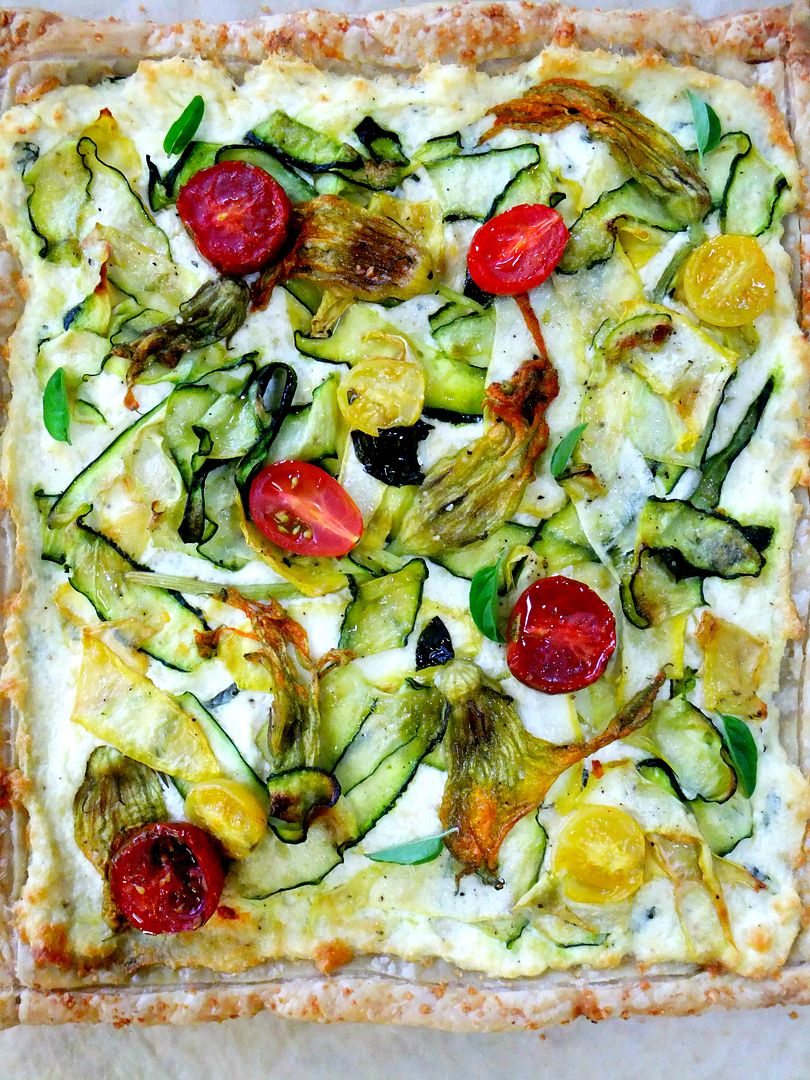
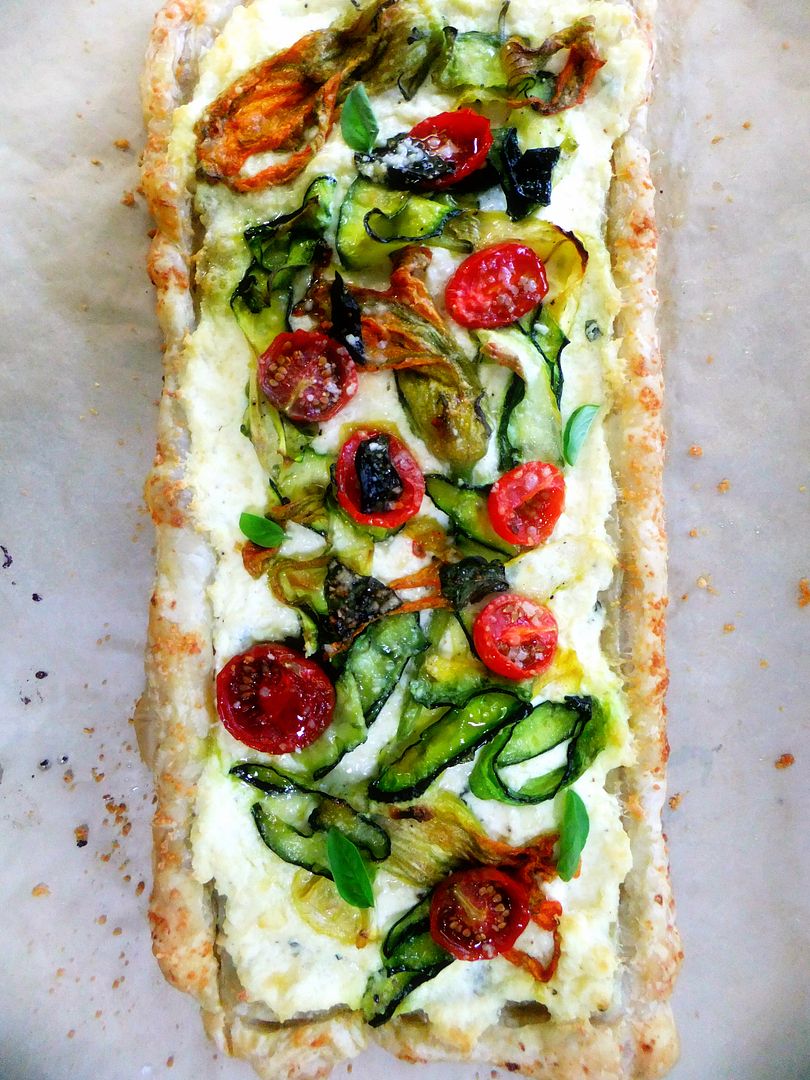
Delicate zucchini blossoms and thin ribbons of squash pressed into cheesey flavored ricotta highlight this summer bounty tart and it's nothing short of perfection!

Zucchini blossoms need to be showcased and this is the perfect canvas.
Thanks to convenient store bought puff pastry, it makes everything look so elegant when laid upon it and it tastes out of this world.
Crunchy, flaky, buttery!
Even if it sticks together because you might have left it out of the fridge too long and you couldn't unfold it like you wanted to, ( cough cough),  it still looks pretty and no one would even have a clue that you had a problem.

Here's how you make it.

RICOTTA MIXTURE
In a bowl mix 2 heaping cups of drained ricotta
1 egg
fresh snipped basil
3 different shredded cheeses, I used romano, mozzarella and an aged chedder. At least 1/4 cup each or even more to taste. My advice, taste mixture before you add the egg.
Salt and pepper
TOPPING
In a saute pan with olive oil and 1 clove of crushed garlic, saute ribbons of zucchini, yellow squash and your zucchini blossoms for a quick minute or two until slightly wilted.
PUFF PASTRY
Line a baking sheet with parchment and unfold your cold puff pastry sheet right on to it. Lightly roll it till seams are flat and sheet looks even all around. Take a pairing knife and make a 1/2 inch border all the way around being careful not to cut through. Take a fork and prick the pastry all within the border so air can get through. 
Just spread the ricotta mixture, (you'll have extra to do another one) within the border and then lay your sauteed squash on top and dot with a few cherry tomatoes and a little drizzle of olive oil.
I like to brush my edges with olive oil and a sprinkling of romano cheese.

Cook in a 350 degree oven until edges are dark golden and crispy and so is the bottom, at least 1/2 hour could be more. Ovens vary so just check it.
ENJOY!


The extreme heat we've been having here has called for lighter meals, lots of veggies, salads, and fruit desserts.
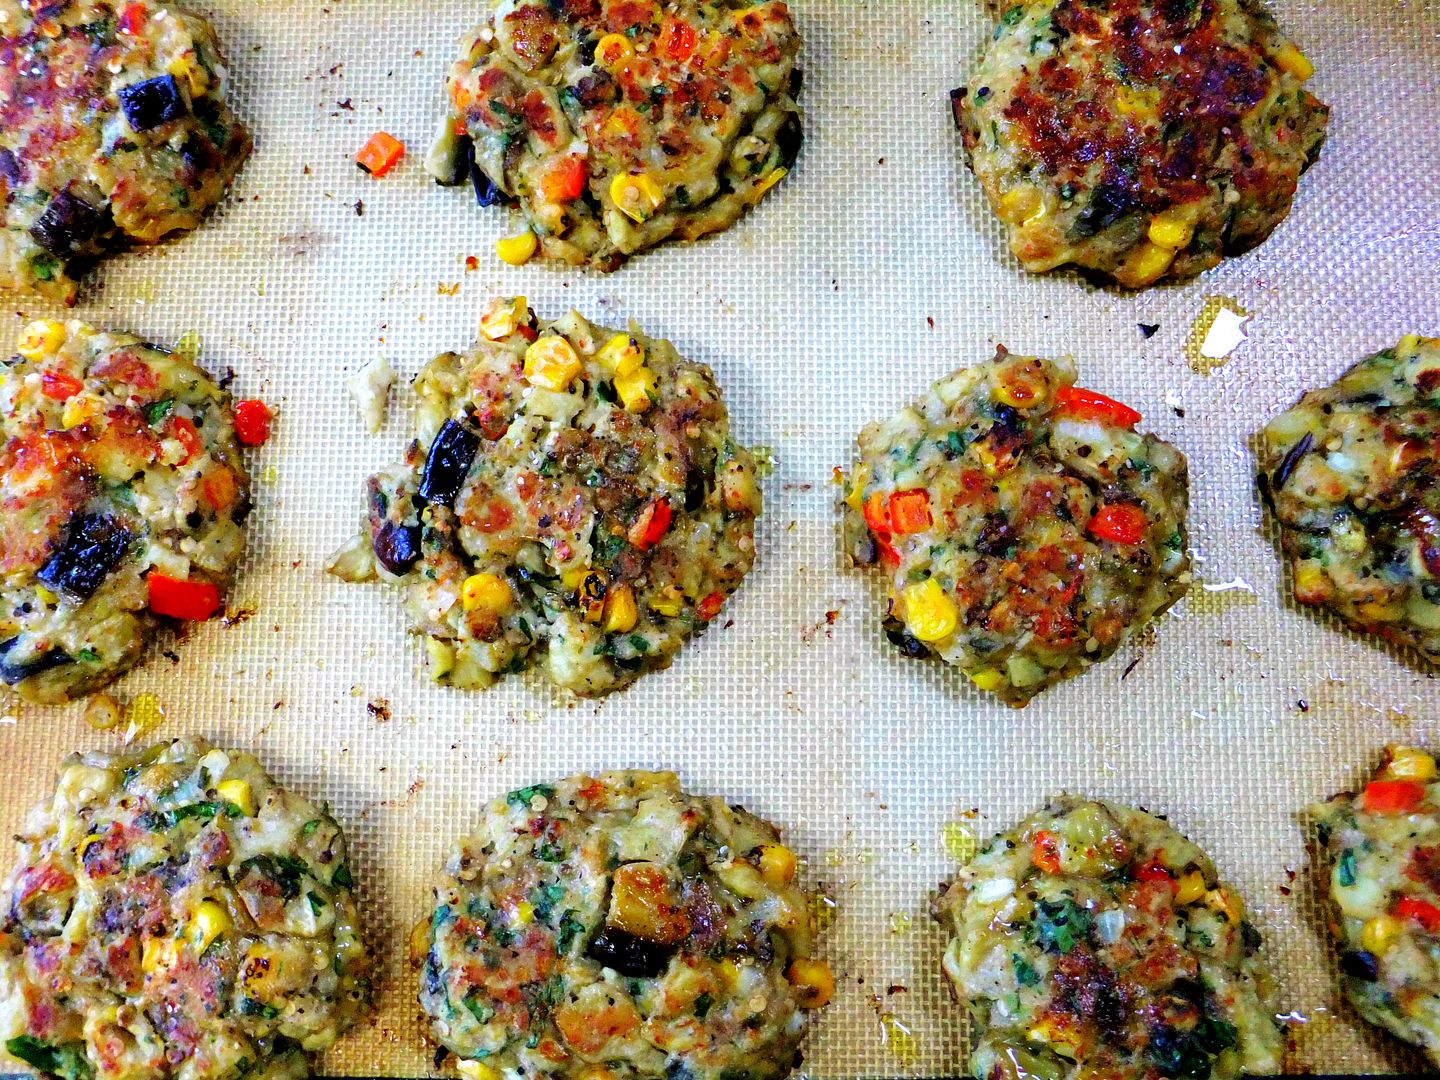
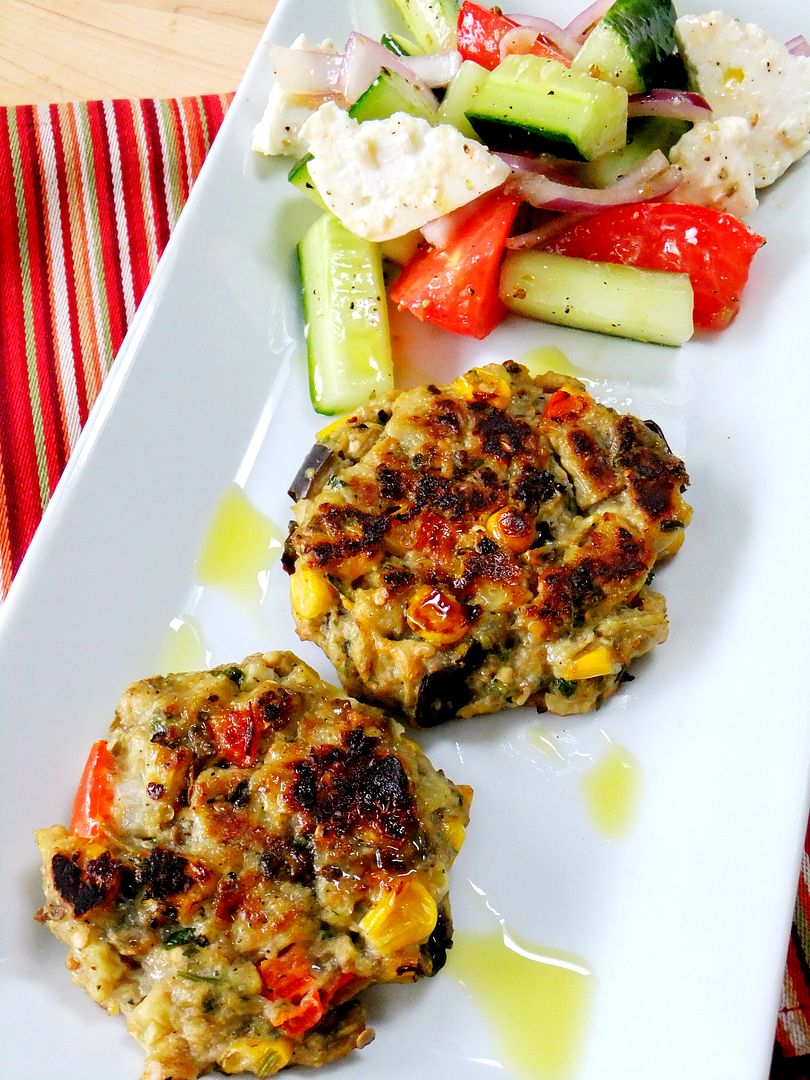
So if you've gathered up a few eggplant from your garden or farmers market and are still thinking about what to do with them, consider making theseeggplant patties.
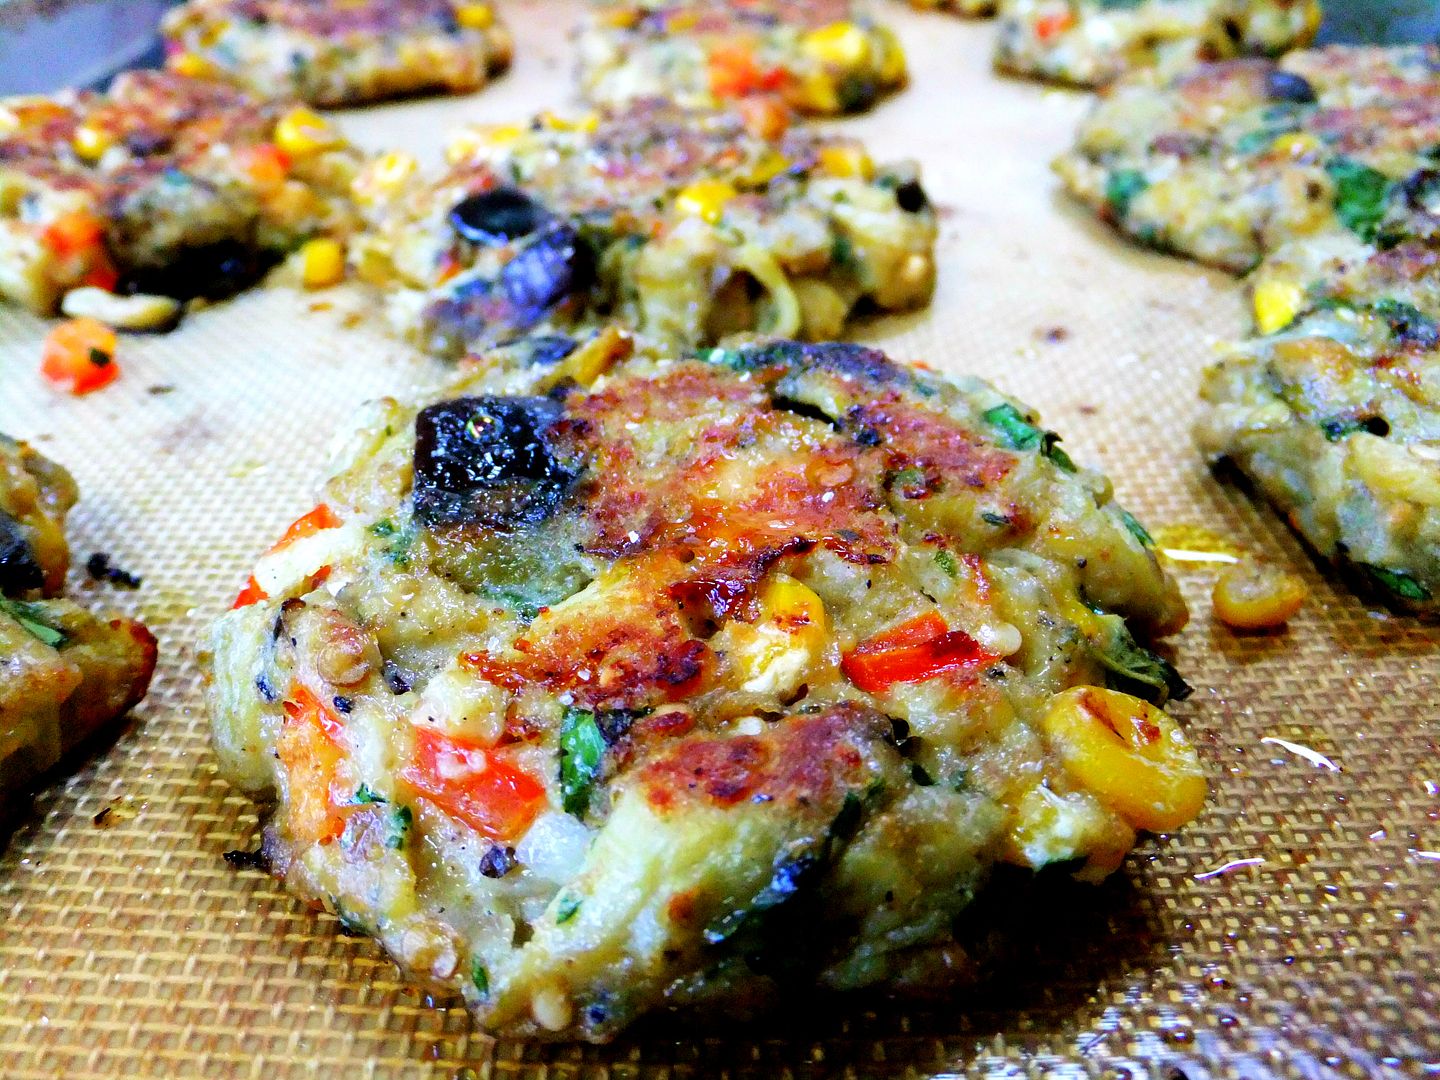
You can eat them like a burger with a bun or without, either way they're chock full of flavor in every bite!
They couldn't be easier to make all you have to do is dice up 2 or 3 eggplants and place them on a baking sheet along with 2 minced garlic cloves, drizzle with olive oil, salt and pepper and roast in a 425 degree oven until soft with a little color, then let it cool down.
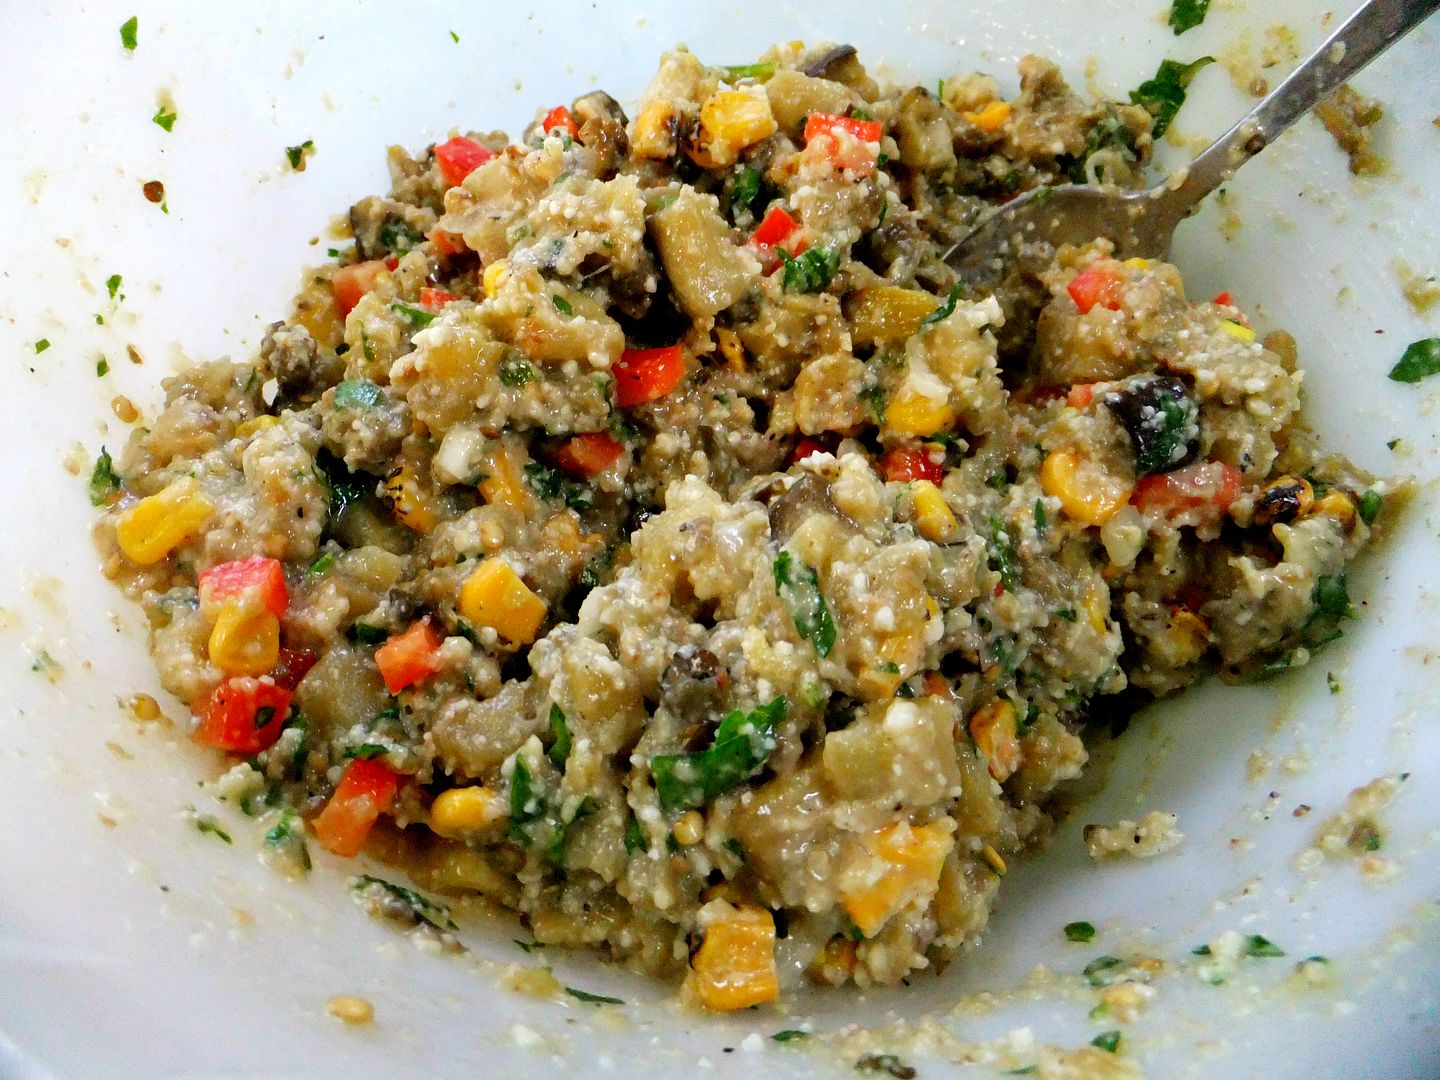
Place in a bowl the cooled down eggplant, grated romano cheese, 1/2 diced red pepper, 1/2 diced onion, 1/2 cup of fresh or defrosted frozen corn, fresh basil, parsley, 2 eggs and a handful of breadcrumbs. My advice is to taste the mixture before adding the eggs so you can adjust all ingredients to your desired tastes, I never measure romano, I just sprinkle it in by the handfuls.
Stir everything together, form patties and place on a silpat or parchment and drizzle the top with olive oil, bake at 425 until golden, turning over once.
These are so good you'll want to make them again and again!
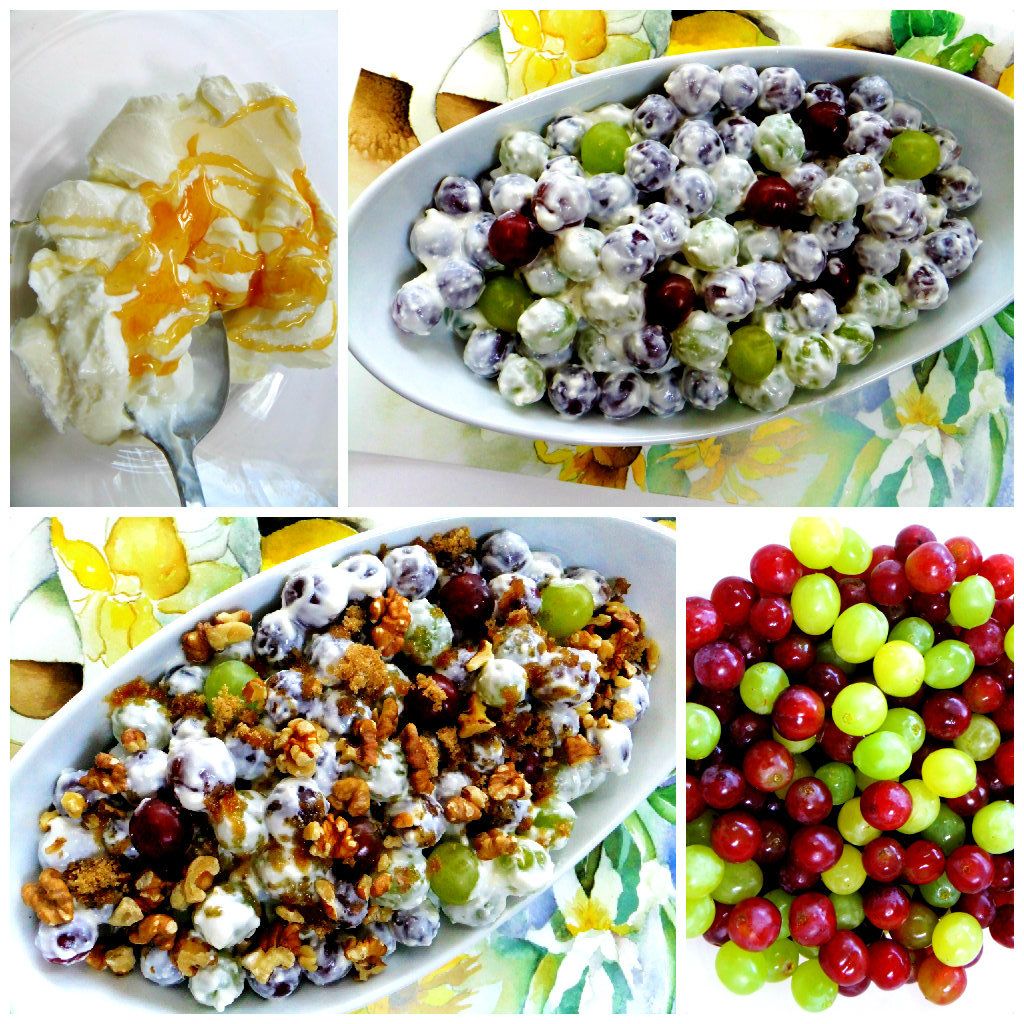
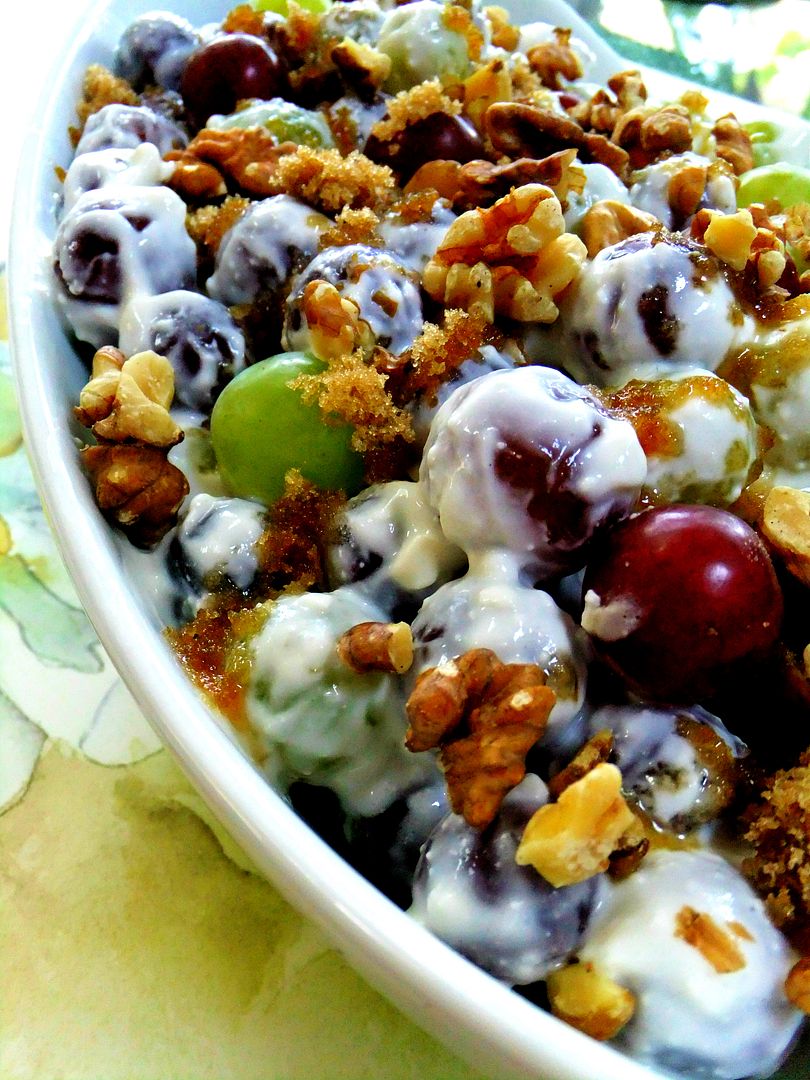
As far as desserts go, we have been obsessed with this grape salad, we had it at a party and it was a big hit, people go crazy for it, it disappears before your eyes! It's so refreshing and cold, perfect for a hot summer day.
The most time consuming thing about making this is picking the grapes off the vines.
Use a mixture of green and red seedless grapes, make sure they're really cold,  I had a bag of each. In a bowl add 1 heaping cup of full fat Greek yogurt, squirt some honey in to it and sweeten it up. Now add 1 heaping 1/4 cup of softened cream cheese with a teaspoon of vanilla and stir everything together and then fold in your cold grapes. You can make this the night before but when you're ready to serve add a sprinkling of brown sugar and toasted walnuts for garnish.
Please make this for your next party, you're guests will love it!
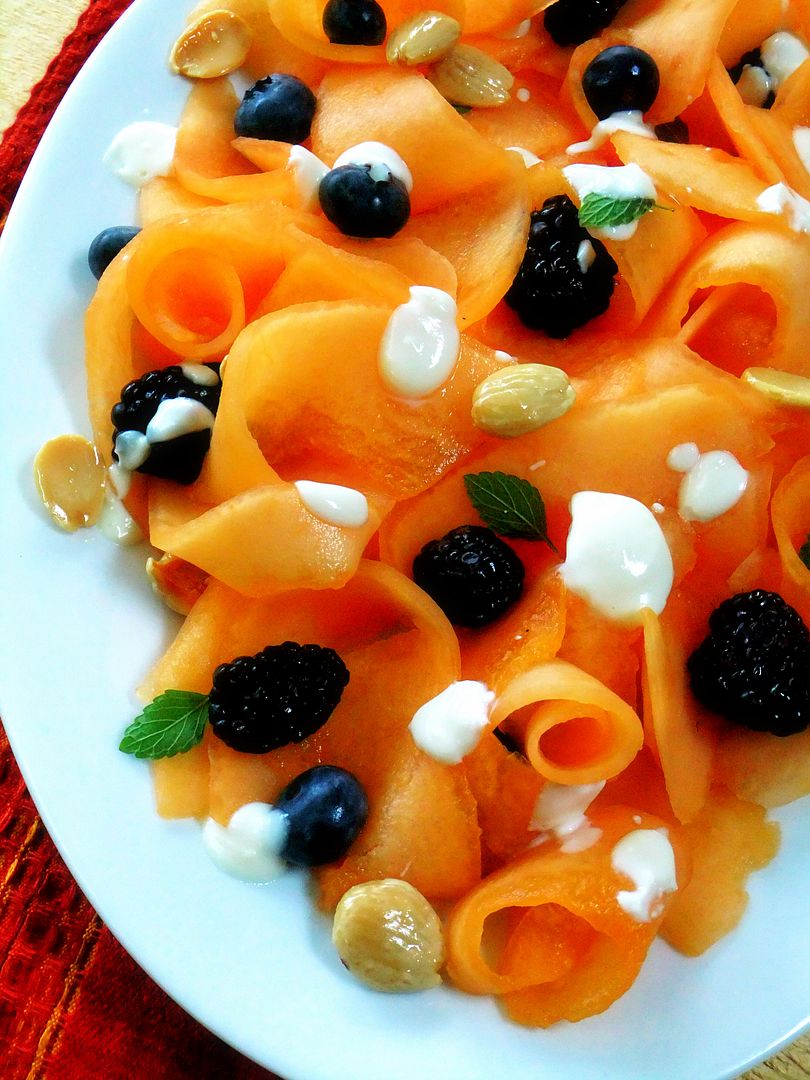
Melons, I could seriously eat everyday, so refreshing! Try making
 cantaloupe ribbons they look so pretty on a platter with dollops of honey yogurt, blueberries, blackberries, sprigs of fresh mint and garnished with crunchy Marcona almonds.

Cut a melon in half, scoop out the seeds, cut into wedges, trim off the rind then slice each wedge with a mandoline into ribbons. Do not use an overly ripe melon, the ribbons will be too watery, a little firmer is better.
Enjoy the last days of summer, before you know it we'll be making big pots of hot soup!


Today I'm doing something a little different here. I was invited along with four other bloggers to guest post over at my friend Lori Lynn's beautiful blog in celebration of her 5th anniversary.
If you haven't discovered Taste With The Eyes, you're missing out on something extraordinary. Her warm and friendly blog showcases amazing food and photography beyond the norm!

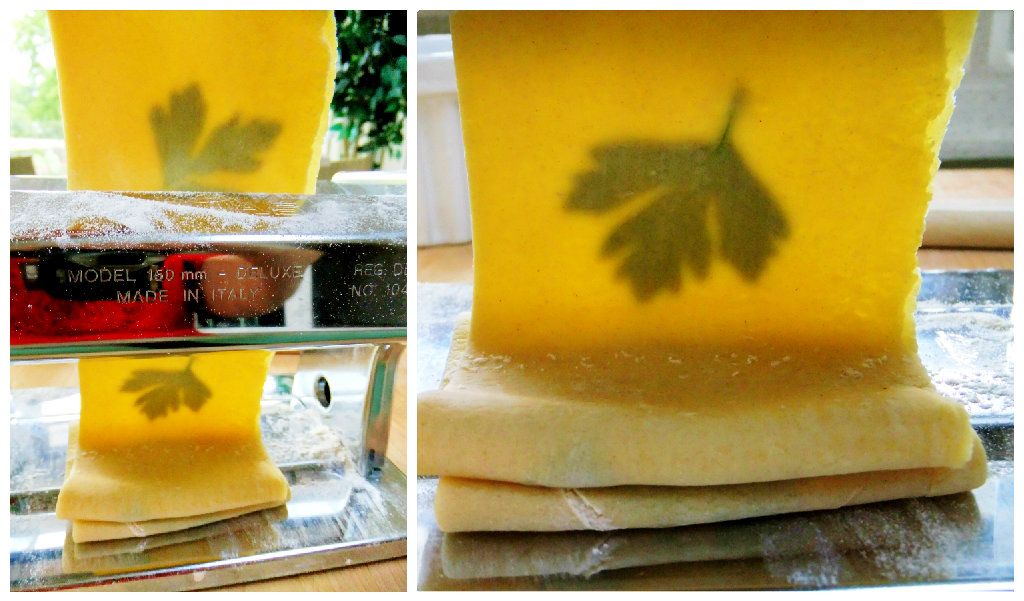
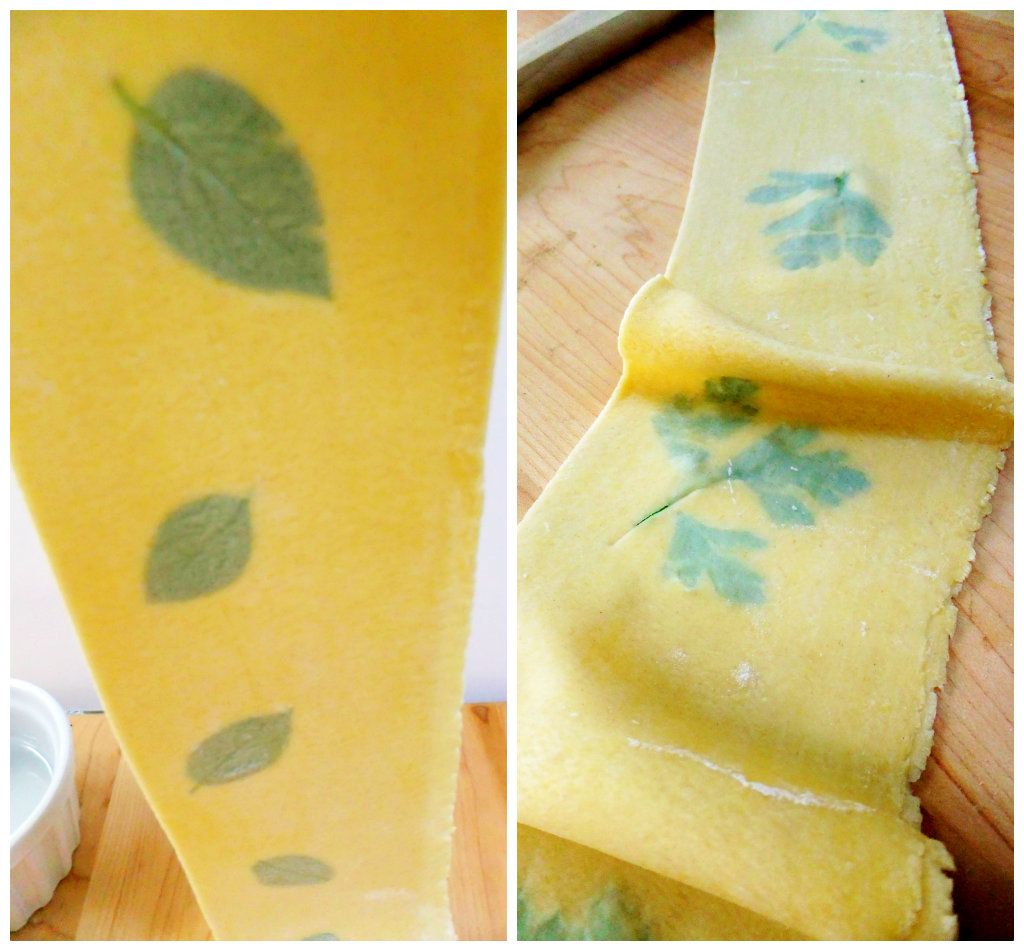
Today I'm featuring on her blog the technique of making
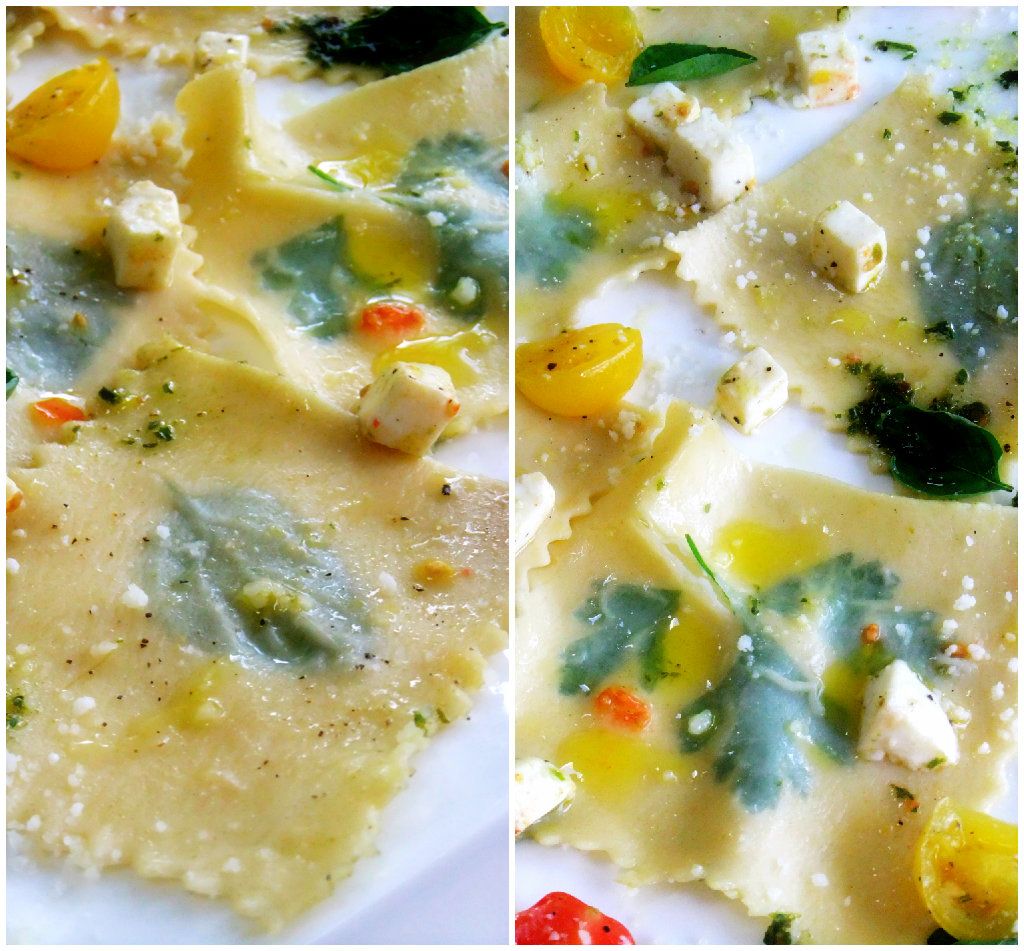
Windowpane Pasta, sometimes referred to as Stained Glass or Silhouette, it's a very simple way of transforming plain pasta sheets into something beautiful and very impressive!
If you're a regular reader of mine you'll know I don't do anything too complicated, trust me, this is so easy to make, you'll be amazed and impressed with yourself and so will your friends and family!
When you go over and visit I'll also tell you two different ways that I like to serve this. So please, check out my guest post and share in celebrating my friends 5th year of Taste With The Eyes!

Speaking of 5 years, my fifth year anniversary is coming up in a couple of weeks, hard to believe, but it's true. Time sure fly's when you're having fun! So stay tuned for my future celebration and a giveaway!


No comments:

Post a Comment